Technical requirements
Before start the installation, be sure, your systems should meet the following requirements.
Server Requirement
- PHP 5.2.17+
- MySQL 3.23
- Apache 1.3
Browser Requirements
- Firefox
- Safari
- Google Chrome
- Opera
- Internet Explorer 9+
Configuration Options
We recommend to use the following servers in your PC to develop your site.
- LAMP (Linux)
- WAMP (Windows)
- MAMP (Macintosh)
- XAMPP (Multi-platform)
Quickstart Package Installation
In All Drupal themes packages created by OrdaSoft you can find Quickstart Package. Quickstart Package allow you to install Drupal theme with demo data in few clicks. We highly recommend this method of Drupal installation
1. Uploading on server
Through FileZilla or another FTP software, upload all files from QuickStart Package folder to your website directory.
2. Run the Drupal 7 Installation Wizard
Open your web browser and go to the folder that you uploaded your QuickStart Package.
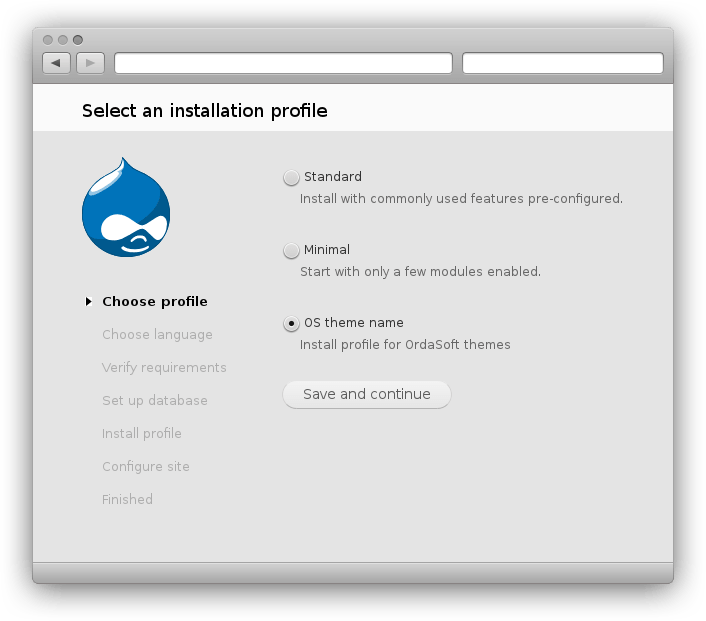
3. Choose profile
On the configuration page, you'll need to select profile installation your theme.
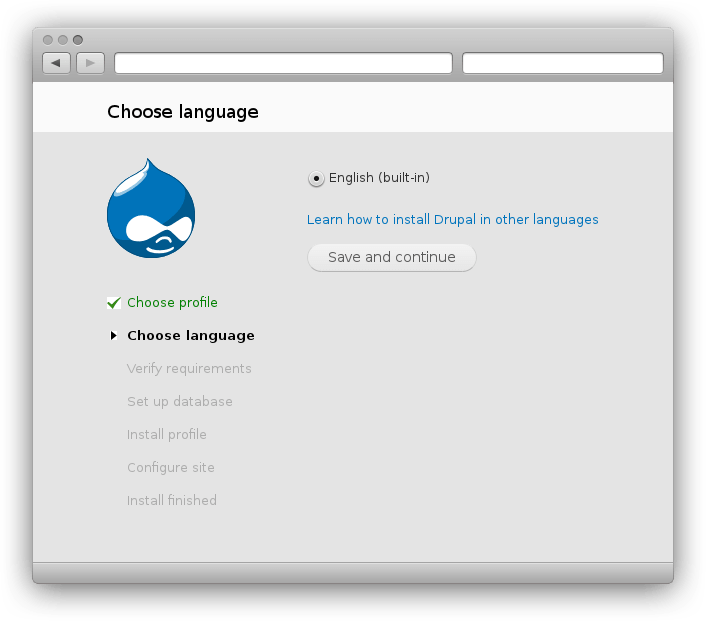
4. Select language
If you want to select a different language, you can select it here for versions of Drupal 7.2. After that, copy the language file in a directory
name your site/profiles/name your profile/translations/
5. Notice
If you experience such a message, you need to make copy of the file default.settings.php, and rename it to settings.php. The file is located in the directory
name your site/sites/default/

6. Database
Configure Drupal 7 with the your database. First you need create database in control panel phpMyAdmin in your hosting. Next you need to fill in all the fields according to created database.

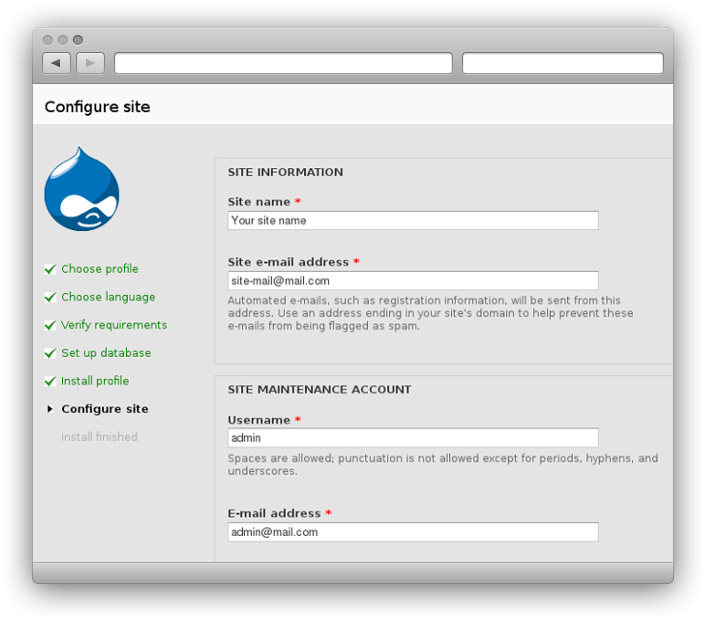
7. Configure site
Configure Drupal 7 for your site. Enter the site name, site, e-mail address, user name, e-mail address and password, select your country and time zone, click Save and Continue for final the installation.
Single theme installation
In All Drupal themes packages created by OrdaSoft you can find Drupal theme file. Drupal theme installation via admin area should take no more than one minute.
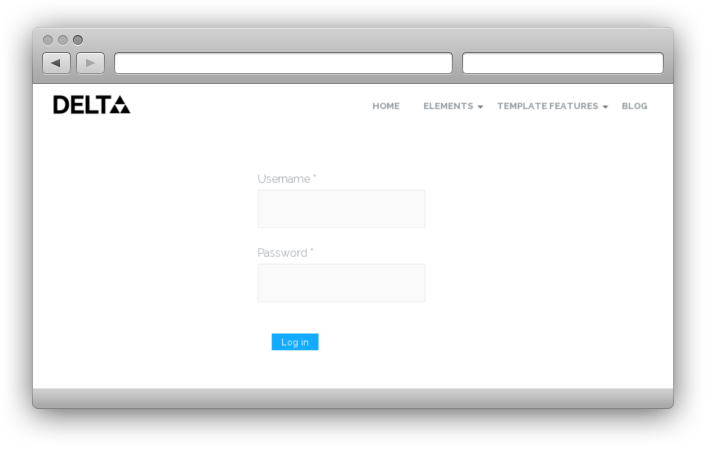
1. Enter to Admin area
You need to go to your Drupal admin area, type in your browser http://your site/?q=user, enter Drupal administrator Login and Password. If Drupal 7 will be activated clean URLs, then the path will be the http://your site/user
2. Upload File & Install
From the backend of your Drupal 7 site (administration) select Appearance -> +Install new theme. Click the Browse button and select the theme on your local machine. Install from a URL - copy the address of the theme for installation. So you can download directly to your theme directory your site/sites/all/themes, and it will appear in the administrative block.

FAQ
What is the difference between Quick Start package and single theme installation? Installing Quick Start package you get the same site as at the demo version. Quick Start package contains an entire Drupal installation and already configured Drupal theme and modules which we used on the demo site. Installing Drupal theme via Extension manager doesn't include sample date. You will need by your self to install and configure all modules.
Notice
Remember! If you make any changes to that code, you will need to adhere to strict rules of syntax of programming languages. Look carefully at the sample code in the documentation and the files themselves which you edit!
Admin Panel
Customize logo, color, links, text etc., all this is possible via theme admin area.
Go to Administration > Appearance and select Settings installed theme
Color scheme
In the theme admin panel, you can select customize the color yourself if you wish to certain parts of the site:
- Body background
- Footer background
- Line background
- Body Link color
- Body link hover color
- Footer link color
- Footer link hover color
- Main menu color
- Main menu hover color
- Body text color
Logo and Favicon
Upload your own logo and favicon in few simple steps. Press to "Select" button and in the popup window, select the logo or favicon, available settings:
- Uppload logo
- Width logo
- Uppload favicon
Body pattern
How to upload my own body pattern?To do this, you must upload new pattern at your theme via FTP into the folder your_sites/sites/all/themes/ordasoft_template/images.Then you need to declare a new pattern in the theme-settings.php file is in the folder your_sites/sites/all/themes/ordasoft_template/.There you should find the following line of code:
  $form['ordasoft_template_settings']['body_pattern']['layout_pattern'] = array(
      '#type' => 'select',
      '#options' => array (
		    'none' => t('None'),
		    'body_bg1' => t('Stone'),
		    'body_bg2' => t('Lines'),
		    'body_bg3' => t('Rhombus'),
		    'body_bg4' => t('Noise'),
		    'body_bg5' => t('Сloth')
		  ),
      '#title' => t('Select Pattern'),
      '#default_value' => theme_get_setting('layout_pattern', 'ordasoft_template'),
      );
In the above, body_bg2 - file name of your pattern, t('Lines') - the name of file in select list in the admin dashboard.
Typography
OrdaSoft themes use Google Fonts. Google Fonts provides high-quality fonts that you can include in your pages using the Google Fonts API. Benefits of the Google Fonts API include:
- A choice of high quality open source fonts.
- Works in most browsers.
- Extremely easy to use.
In theme added most popular Google fonts and You can specify your own font for: Body, Body Links, Main Menu, Footer, h1 - h6.
How to add new font from Google?
You need to get the connection code font on the Google Fonts site. This code should look like:
@import url(http://fonts.googleapis.com/css?family=Oswald:400,300,700);
Then you should to insert this generated code in style.css file in the folder your_sites/sites/all/themes/ordasoft_template/css/style.css
For the emergence of the new font in the font list in admin area, add the following code in the theme-settings.php file is in the folder your_sites/sites/all/themes/ordasoft_template/:
  $options_font = array (
      'Abel, sans-serif' => 'Abel',
      'Arial, sans-serif' => 'Arial',
      'Comfortaa' => 'Comfortaa',
      'Dosis, sans-serif' => 'Dosis',
      'Droid Sans, sans-serif' => 'Droid Sans',
      'Francois One, sans-serif' => 'Francois One',
      'Georgia, serif' => 'Georgia',
      'Helvetica, sans-serif' => 'Helvetica',
      'Lato, sans-serif' => 'Lato',
      'Lobster, sans-serif' => 'Lobster',
      'Lora, sans-serif' => 'Lora',
      'Open Sans Condensed, sans-serif' => 'Open Sans Condensed',
      'Open Sans, sans-serif' => 'Open Sans',
      'Oswald, sans-serif' => 'Oswald',
      'Oxygen, sans-serif' => 'Oxygen',
      'PT Sans Narrow, sans-serif' => 'PT Sans Narrow',
      'PT Sans' => 'PT Sans',
      'Prosto One, cursive' => 'Prosto One',
      'Quicksand, sans-serif' => 'Quicksand',
      'Roboto Condensed, sans-serif' => 'Roboto Condensed',
      'Roboto, sans-serif' => 'Roboto',
      'Share, cursive' => 'Share',
      'Source Sans Pro, sans-serif' => 'Source Sans Pro',
      'Times New Roman, sans-serif' => 'Times New Roman',
      'Ubuntu Condensed, sans-serif' => 'Ubuntu Condensed',
      'Ubuntu, sans-serif' => 'Ubuntu',
      'Verdana, sans-serif' => 'Verdana'
  );
This code has added a new font 'Raleway' for the tag H1 to the list of fonts in admin area.
Module positions
Module positions are placeholders in a theme. They identify positions within the theme and tell the Drupal 7 application where to place output from modules assigned to a particular position. The theme designer has complete control over module positions, creating variations between themes and the respective Drupal default positions assigned to modules in the installation sample data.
For example, the module position regions[home_page_gallery] could be defined to be in the bottom of the theme to display a slideshow. So if a module is assigned the regions[home_page_gallery], it will be displayed wherever the designer puts that bottom module position - not necessarily the bottom side of the page.
ordasoft_template.info
The ordasoft_template.info file contains all the installation and core information for a theme, including the module positions it utilizes. Here is list module positions theme.
regions[top_menu] = Top Menu
regions[search] = Search
regions[top1] = Top 1
regions[top2] = Top 2
regions[top3] = Top 3
regions[top4] = Top 4
regions[top_content1] = Top Content 1
regions[top_content2] = Top Content 2
regions[top_content3] = Top Content 3
regions[top_content4] = Top Content 4
regions[recent_comments] = Recent comments
regions[categories_blog] = Categories blog
regions[recent_blog] = Recent blog posts
regions[contact_info] = Contact info
regions[line1] = Line 1
regions[line2] = Line 2
regions[line3] = Line 3
regions[line4] = Line 4
regions[top_content] = Top Content
regions[feature1] = Feature 1
regions[feature2] = Feature 2
regions[feature3] = Feature 3
regions[feature4] = Feature 4
regions[contenttop1] = Contenttop 1
regions[contenttop2] = Contenttop 2
regions[contenttop3] = Contenttop 3
regions[contenttop4] = Contenttop 4
regions[sidebar_left] = Sidebar Left
regions[content] = Content
regions[sidebar_right] = Sidebar Right
regions[contentbottom1] = Contentbottom 1
regions[contentbottom2] = Contentbottom 2
regions[contentbottom3] = Contentbottom 3
regions[contentbottom4] = Contentbottom 4
regions[bottom_line1] = Bottom Line 1
regions[bottom_line2] = Bottom Line 2
regions[bottom_line3] = Bottom Line 3
regions[bottom_line4] = Bottom Line 4
regions[bottom1] = Bottom 1
regions[bottom2] = Bottom 2
regions[bottom3] = Bottom 3
regions[bottom4] = Bottom 4
regions[last1] = last 1
regions[last2] = last 2
regions[last3] = last 3
regions[last4] = last 4
regions[footer_menu] = Footer Menu
regions[footer1] = Footer 1
regions[footer2] = Footer 2
regions[footer3] = Footer 3
regions[footer4] = Footer 4
Although these are commonly used, it is up to the theme developer to choose both a module position name and an ac Realtying display style. The addition of module positions, as displayed above in file info, and renderer this position in file page..php as shown below.
<?php print render($page['home_page_gallery']);?>
Visualization
It's possible to visualize all modules set on a theme. Home » Administration » Structure and click to Demonstrate block regions (ordasoft_template)
Theme updating
Backup your Drupal site
To help ensure that you don't lose your Drupal database or files in process updating theme you should make backup.
Uninstall your Drupal theme
Go to: Drupal Admin Area -> Appearance. If you have active theme, then click Disable, adn remove this folder theme from directory site your_site/sites/all/themes/
Install your new Drupal theme inverse manner
All other modules, you can upload in folder modules your_site/sites/all/modules:
- Upload Package File - (select a package from your PC, upload and install it)
- Install from Directory - (enter the path where the package is located on your webserver)
- Install from URL - (enter the URL to the package)
Option 3 does everything for you, your environment needs to be properly configured to allow this. Option 1 requires you to download the package to your PC. Option 2 requires you to unzip and move the folders/files to your webserver. All option require the webserver to have write access to the webspace.
Choose the first method: Upload Package File. Select the package from your PC and click the button "Upload File & Install".
Home page
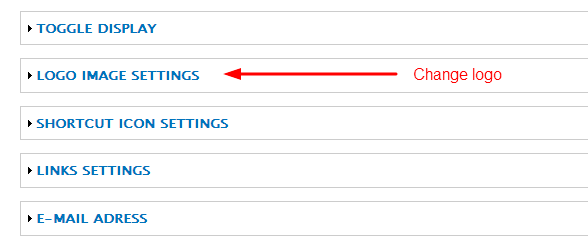
1. Logo

To change the setting and other settings of the logo you have to go: Drupal Admin Area Appearance -> Settings -> Your site -> Logo
.
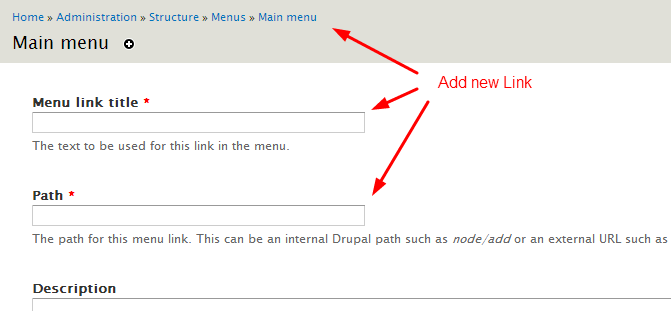
2. Menu

Main Menu has large number of settings , so you can add a second level menu , to modify or add new items to the menu you have to go: Drupal Admin Area -> Structure -> Menu -> Main Menu.
3. Social Icons
Setting social icons allows adding or changing the number of icons on your website, for the settings social icons you will need to pass control panel, go to Drupal Admin Area -> Appearance -> Settings -> Your site -> Social Icon
4. Top Info
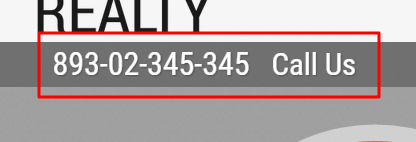
In this section, you can add or change information for this you will need to pass: Drupal Admin Area Structure -> Blocks -> Top Info
.
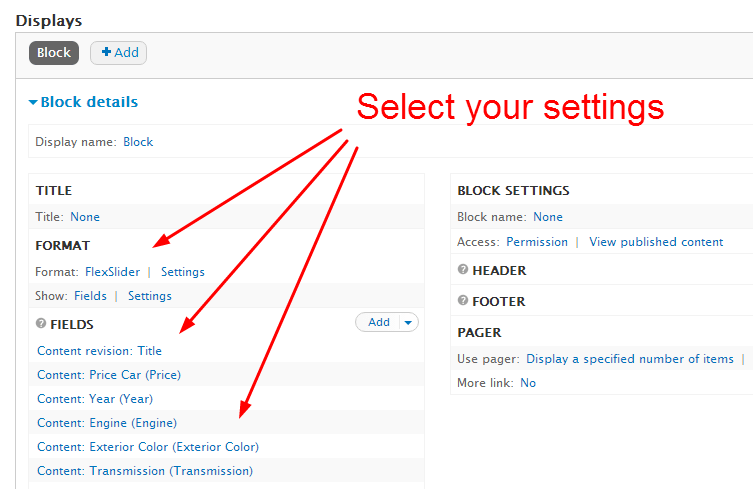
5. Slideshow
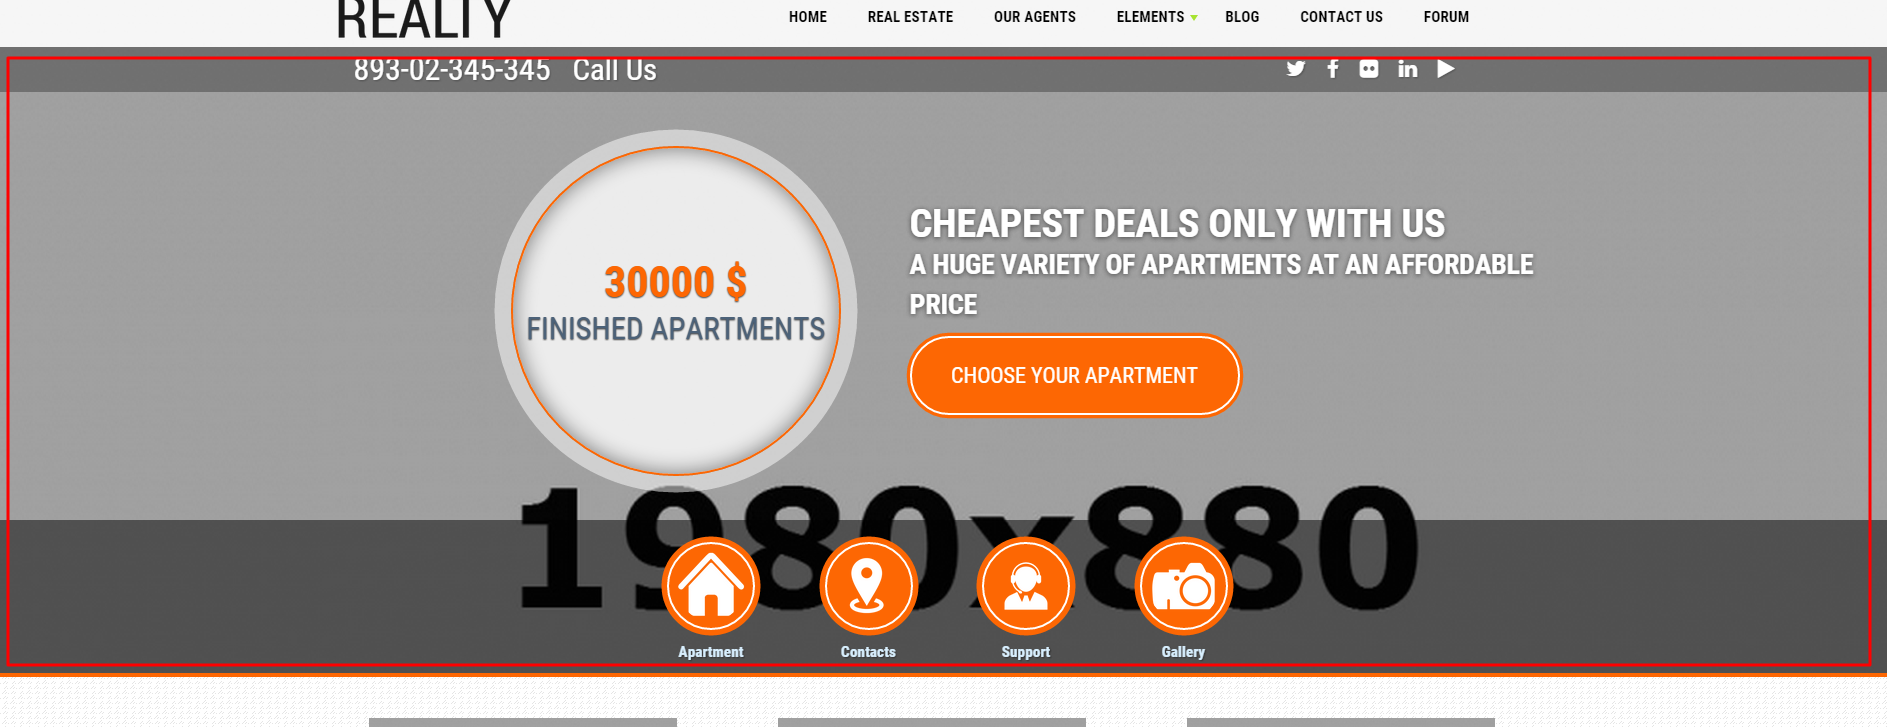
At the slider output image added cars. To change the setting of the slider, you will need to go to the Drupal Admin Area -> Structure -> View -> Front Slider
6. Top Menu
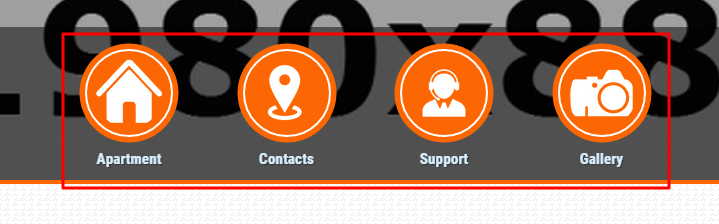
Main Menu has large number of settings , so you can add a second level menu , to modify or add new items to the menu you have to go: Drupal Admin Area -> Structure -> Menu -> Top Menu.
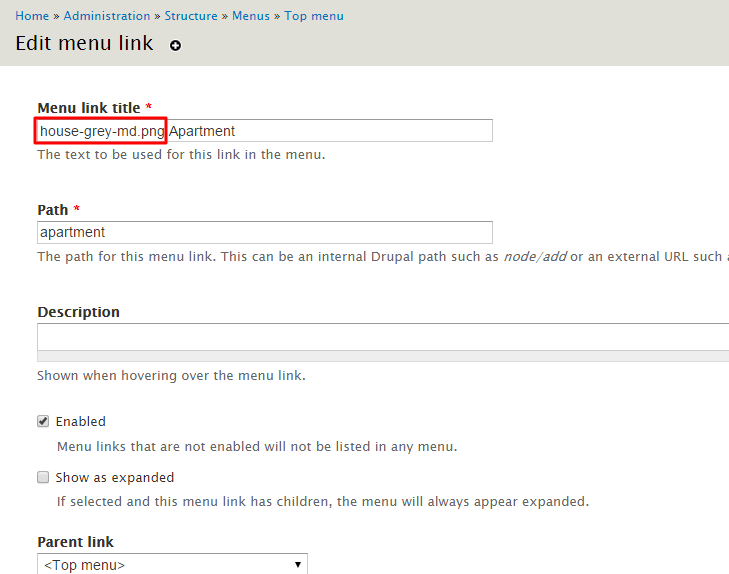
You can add your own images in the menu, it is necessary to put your picture in your site/sites/all/themes/your theme/images. Then you need to specify the name of the image as we have in the documentation, then your picture is displayed on the menu
7. Wishes

In this section you can add your information to this you will need to pass Drupal Admin Area -> Structure -> Content -> Wishes

Add uor information

8. Supplementary Info

In this section you can add your information to this you will need to pass Drupal Admin Area -> Structure -> Blocks -> First Block

9. Overall layout of apartments
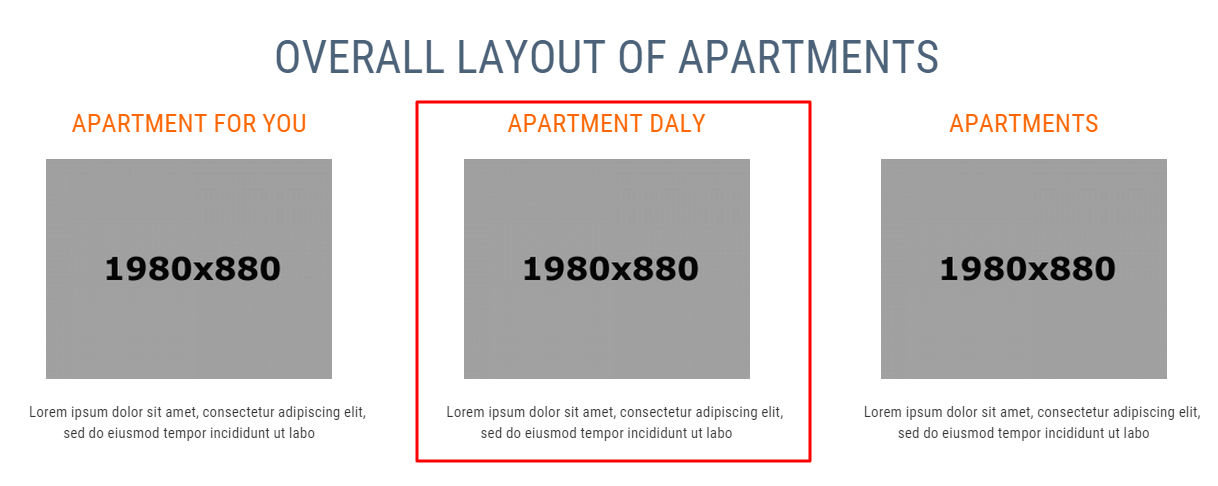
In this section you can add your information to this you will need to pass Drupal Admin Area -> Structure -> Content -> Overall layout of apartments

Add your information

When you go to the content of your images to be written a better review when clicked
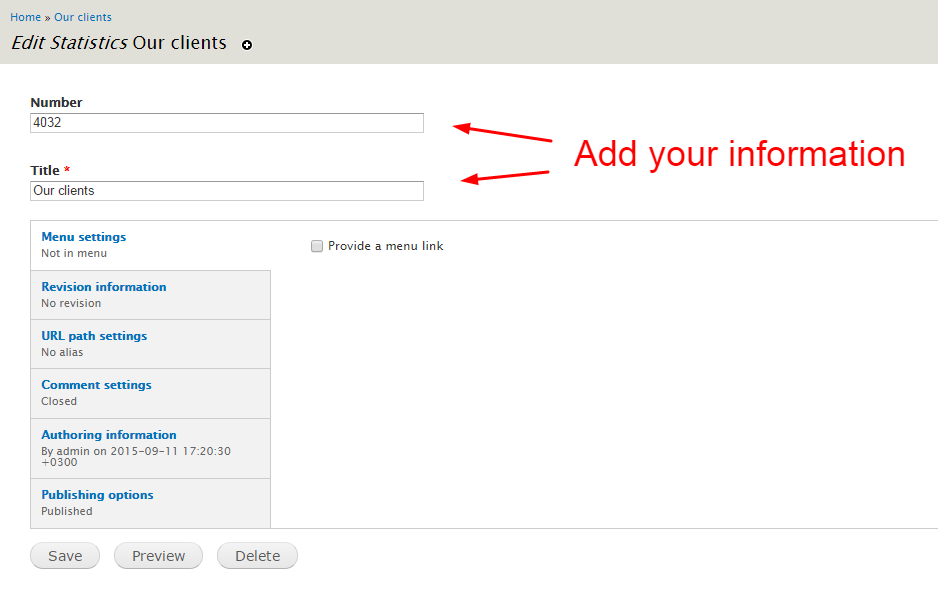
10. Statistics
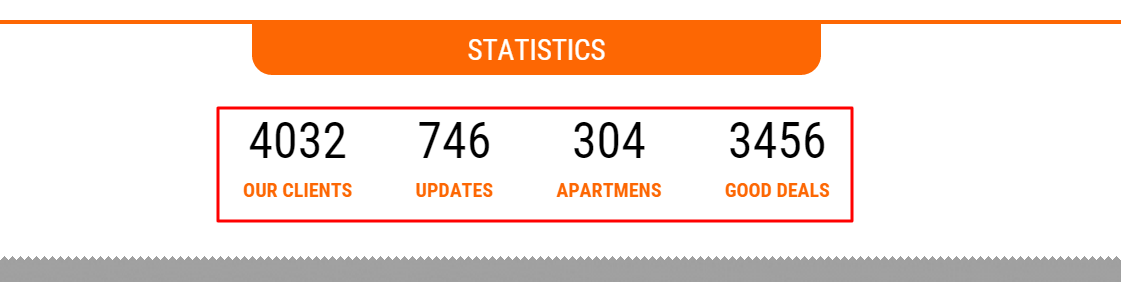
In this section you can add your information to this you will need to pass Drupal Admin Area -> Structure -> Content -> Statisticsk

11. Blog News
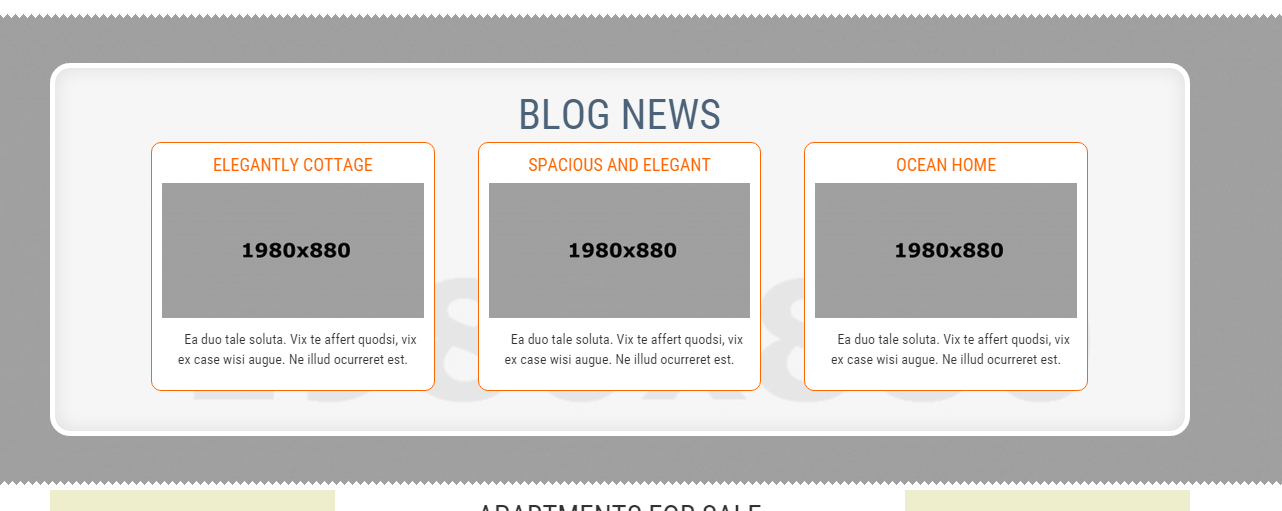
At the output of the last block written blog articles you will need to pass Drupal Admin Area -> Structure -> Content -> Blog entry

12. Apartments for sale

In this section you can add your information to this you will need to pass Drupal Admin Area -> Structure -> Content -> Apartments for sale


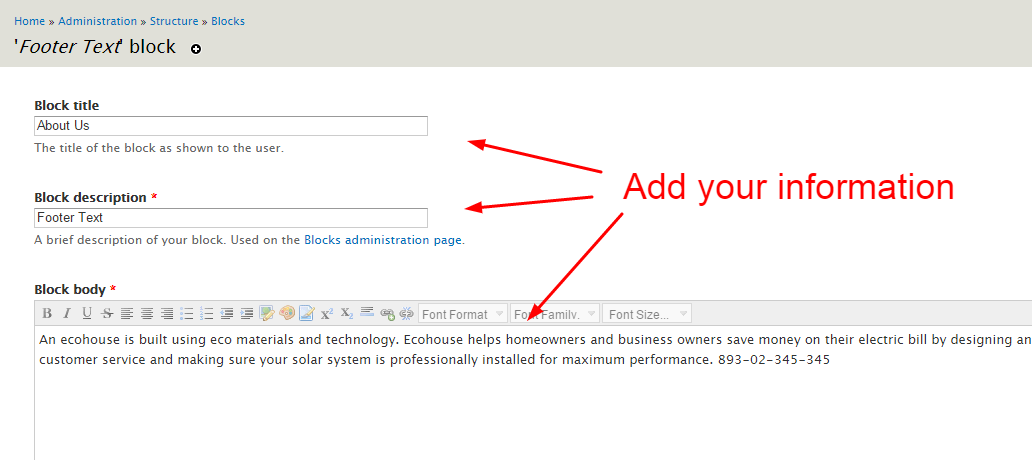
13. About Us

In this section you can add your information to this you will need to pass Drupal Admin Area -> Structure -> Blocks -> About Us

14. Footer menu

Footer Menu has large number of settings , so you can add a second level menu , to modify or add new items to the menu you have to go: Drupal Admin Area -> Structure -> Menu -> Footer Menu.

15. Last Added

Tin the block that you added to display the latest houses, you will need to configure pass Drupal Admin Area -> Structure -> View -> Last Added

16. Footer copyright
Copyrights on OS temaplate you can change via theme admin area, go to: Drupal Admin Area -> Appearance -> Settings.
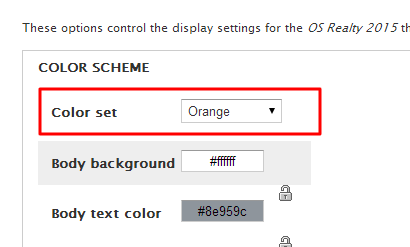
17. Color scheme

In this section you can change the color scheme of your site, to change the color on our website you will need to pass Drupal Admin Area -> Appearance -> Settings -> your theme
Apartment
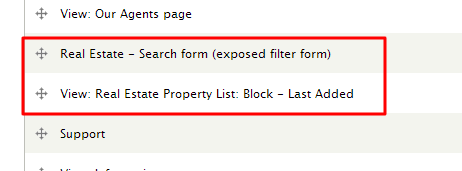
1. Apartments
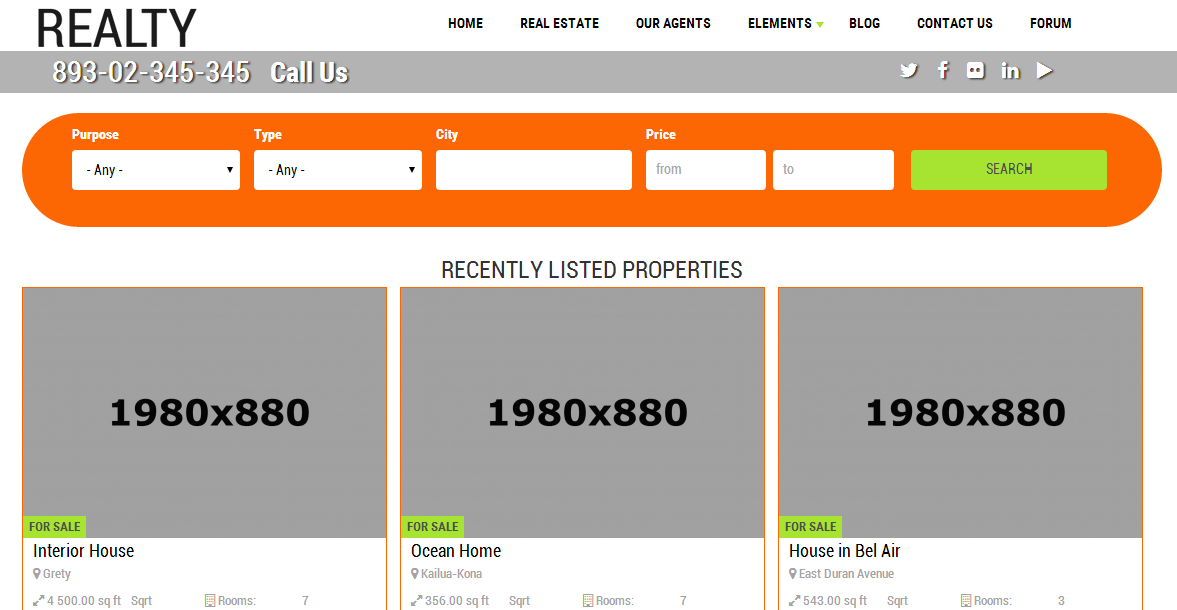
This page shows the search for your home as well as your home, you will need to configure pass Drupal Admin Area -> Structure -> Blocks -> Real Estate - Search form (exposed filter form) and Drupal Admin Area -> Structure -> Blocks -> View: Real Estate Property List: Block - Last Added
When you go home it reflects all the information that you specify

To add a home, you will need to pass Drupal Admin Area -> Structure -> Content -> Property

Select all the necessary data for the home

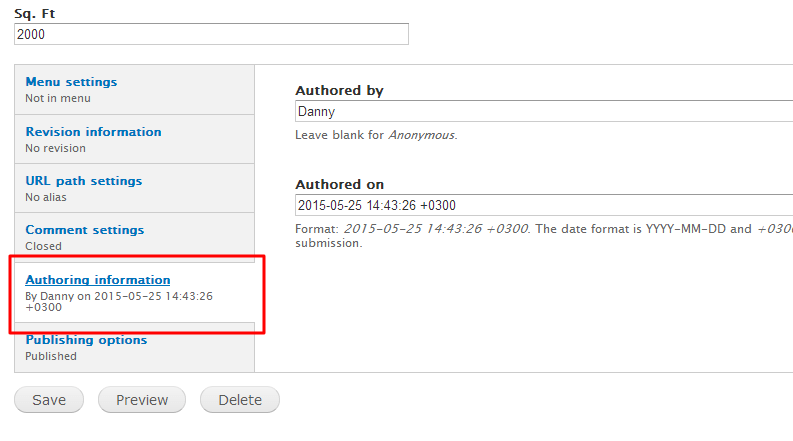
2. Adding an agent

When filling out the fields in your home created, you can specify the agent that relate to this house. To do this you will need to specify it as the author
Contacts Page
1. Contacts
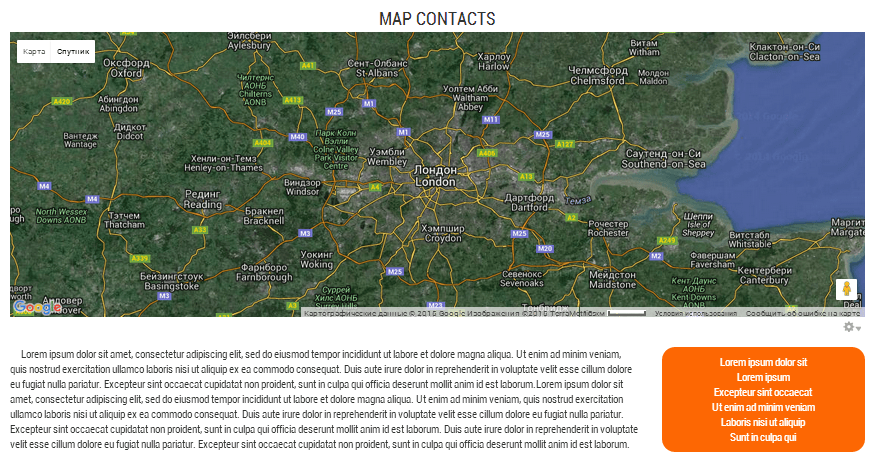
On this page you can specify your contact information or other information at your discretion, you will need to configure pass Drupal Admin Area -> Structure -> Blocks -> Map Contacts and Drupal Admin Area -> Structure -> Blocks -> Contacts description

Support Page
1. Support
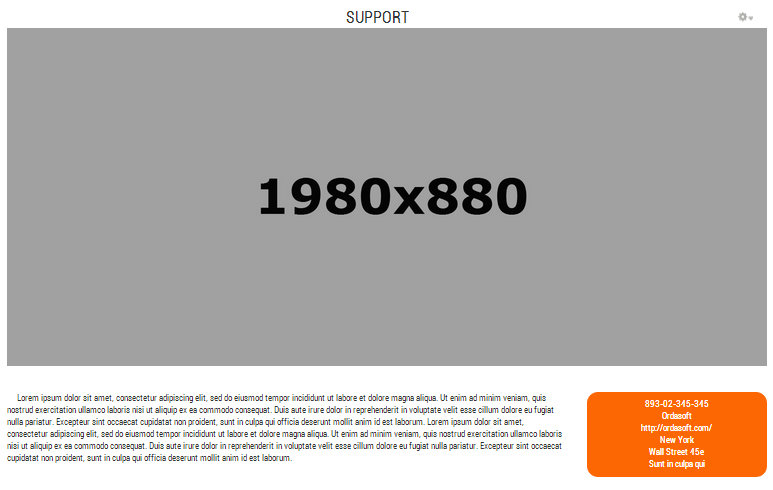
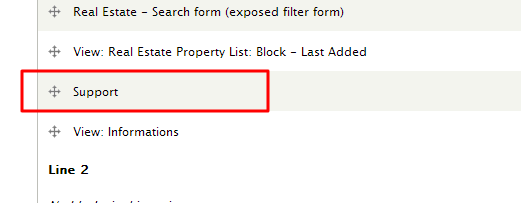
On this page you can specify your contact information or other information at your discretion, you will need to configure pass Drupal Admin Area -> Structure -> Blocks -> Support
Gallery Page
1. Gallery

On this page displayed an image of your home, after viewing the gallery of the house you can go to the house by clicking on its title, you will need to configure pass Drupal Admin Area -> Structure -> Blocks -> Gallery House
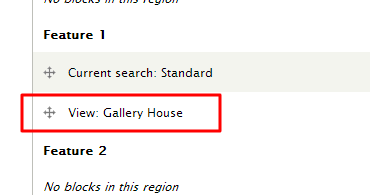
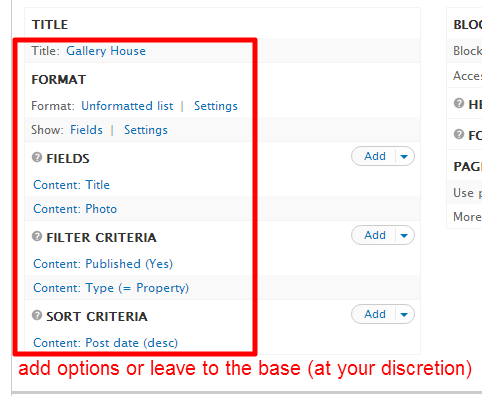
To change the settings of this page you need to go Drupal Admin Area -> Structure -> Views -> Gallery House
Contact our team
Contact form
Go to: Drupal Admin Area -> Structure -> Contact form.
Or if You want change block, go to: Drupal Admin Area -> Structure -> Blocks -> Contact form.
Make sure you enter a valid email address, because it will be used by the contact form.
Blog
Go to: Drupal Admin Area -> Content -> Add content-> Blog entry.
Add new article or edit your articles.
Go to: Drupal Admin Area -> Content.
Support
Support of all themes is carried out on OrdaSoft forum
Created: 18/03/2015
- latest Update: 18/03/2015
- By OrdaSoft
- http://ordasoft.com/