Technical requirements
Before start the installation, be sure, your systems should meet the following requirements.
Server Requirement
- PHP 5.2.17+
- MySQL 15.1
- Apache 1.3
Browser Requirements
- Firefox 4+
- Safari 5+
- Google Chrome 10+
- Opera 10+
- Internet Explorer 9+
Configuration Options
We reccomend to use the following servers in your PC to develop your site.
- LAMP (Linux)
- WAMP (Windows)
- MAMP (Macintosh)
- XAMPP (Multi-platform)
Quickstart Package Installation
In All WordPress Themes packages created by OrdaSoft you can find Quickstart Package. Quickstart Package allow you to install WordPress Theme with demo data in few clicks. We highly recommend this method of WordPress installation
1. Uploading on server
Through FileZilla or another FTP software, upload all files (zip archive and installer.php) from QuickStart Package folder to your website directory.
In the directory should be one zip archive and one file installer.php
2. Run the WordPress Installation Wizard
Open your web browser and go to the folder that you uploaded your QuickStart Package and enter the installer.php
Enter your details and click button "Run Deployment"


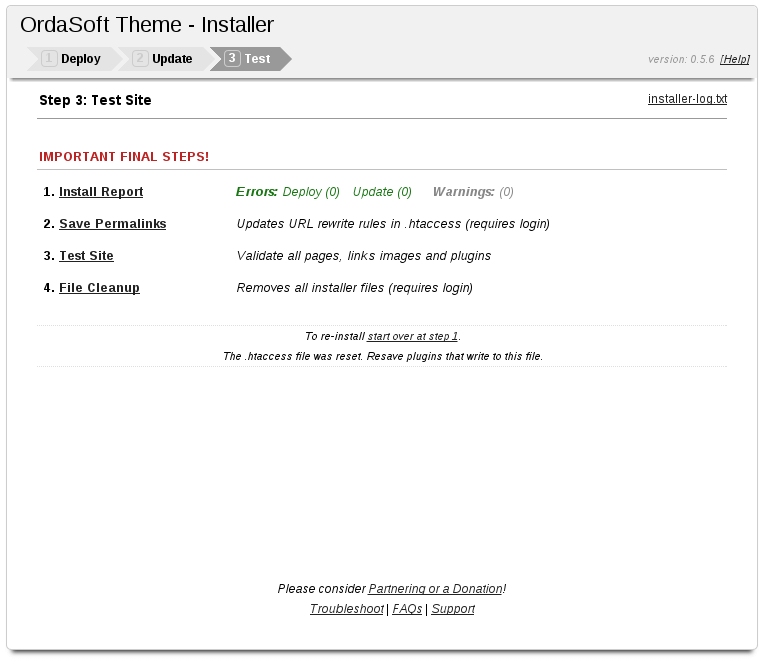
Deploy
3. Update Settings

Update
4. Finish
Congratulation, WordPress! is now installed! The last step needed is to remove the installation directory! Go to your web site.
FAQ
What is the difference between Quick Start package and single Theme installation?
Installing Quick Start package you get the same site as at the demo version. Quick Start package contains an entire WordPress installation and already configured WordPress Theme and extensions which we used on the demo site. Installing WordPress Theme via Extension manager doesn't include sample date. You will need by your self to install and configure all extensions.
QuickStart by OrdaSoft contains:
Woocommerce
Super testimonial
WP Google Maps
Settings QuickStart by OrdaSoft
You can customize the header, footer, home page, fonts, links etc., via Theme admin area.
Settings marked by red color available only PAID version of Quick Start packages
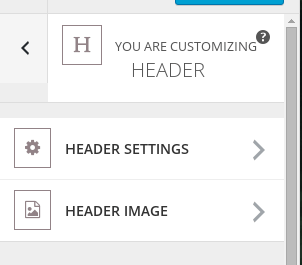
Go to Admin Panel > Appearance > Customize
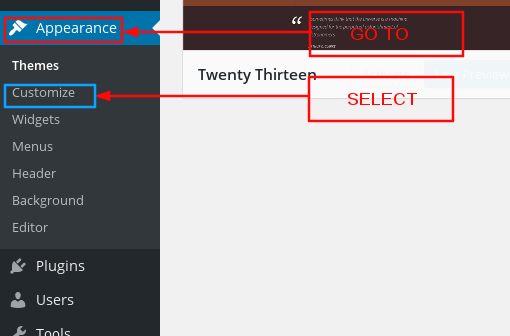
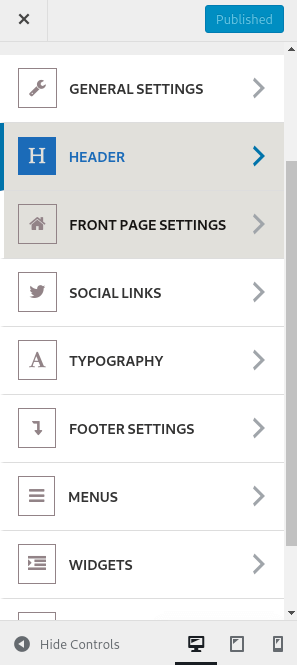
In Customize Panel you will see next settings:
- General Settings
- Header
- Front Page Settings
- Social Links
- Tipography
- Footer Settings
- Menus
- Widgets
- Static Front Page
General Settings
In General Settings of Base QuickStart you will have possibilities to change next options:
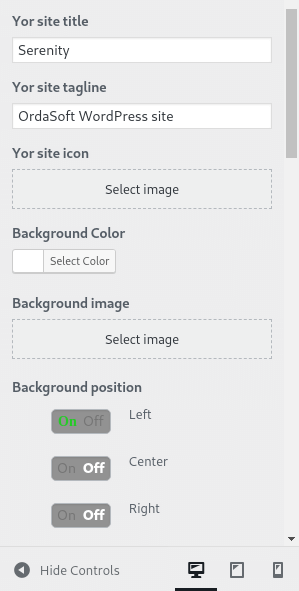
- Website title
- Website tagline
- Website icon
- Background color
- Background image
- Theme Color
- Body Font
- Body font size
- Body links font
- Favicon
- Custom CSS
- Google Analytics
For save your settings you must click on save button in top panel

Header Settings
In Header Settings of Base QuickStart you will have possibilities to change next options:
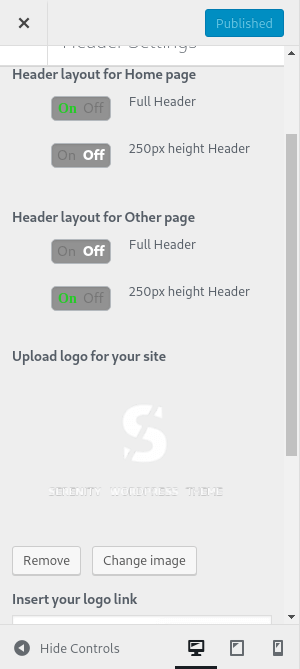
- Header layout for Home page
- Header layout for Other page
- Header text show or hide
- Header text
- Text 2
- Text 3
- Text 4
- Text 5
- Upload logo for your site
- Insert your logo link
For save your settings you must click on save button in top panel
Header Image:

- Current header
- Previously uploaded
For save your settings you must click on save button in top panel
Front Page Settings
In Home Page Settings of Base QuickStart you will have possibilities to change next options:

- Home page width full or fixed (1170px)
- Home page blog title
- Home page blog desccription
- Shop section on home page show or hide
- Home page shop section title
- Home page shop section desccription
- Shop section show products
- Products column
- Content section on home page show or hide
- Any section on home page show or hide
- Home page any section title
- Home page any section desccription
- Home page any section insert shortcode
For save your settings you must click on save button in top panel
Socials Links Settings
In Socials Links Settings of Base QuickStart you will have possibilities to change next options:
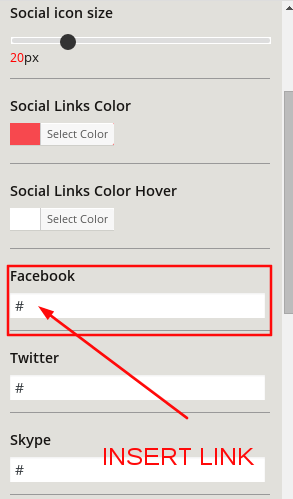
- Social icon size
- Social Links Color
- Social Links Color Hover
- Facebook link
- Soundcloud link
- Twitter link
- Skype link
- Dribbble link
- Google link
- Vimeo link link
- Flickr link
- Youtube play link
- Instagram link
- Linkendin link
For save your settings you must click on save button in top panel
Typography Settings
In Typography Settings of Base QuickStart you will have possibilities to change next options:

- H1
- Abel, sans-serif
- Comfortaa
- Dosis, sans-serif
- Droid Sans, sans-serif
- Francois One, sans-serif
- Lato, sans-serif
- Lobster, sans-serif
- Lora,sans-serif
- Open Sans Condensed, sans-serif
- Open Sans, sans-serif
- Oswald, sans-serif
- Oxygen, sans-serif
- PT Sans Narrow, sans-serif
- PT Sans
- Prosto One, cursive
- Quicksand, sans-serif
- Raleway
- Roboto Condensed, sans-serif
- Roboto, sans-serif
- Roboto Slab
- Share, cursive
- Source Sans Pro, sans-serif
- Ubuntu Condensed, sans-serif
- Ubuntu, sans-serif
- H1 color
- H2
- H2 color
- H3
- H3 color
- H4
- H4 color
- H5
- H5 color
- H6
- H6 color
For save your settings you must click on save button in top panel
Footer Settings
In Footer Settings of Base QuickStart you will have possibilities to change next options:
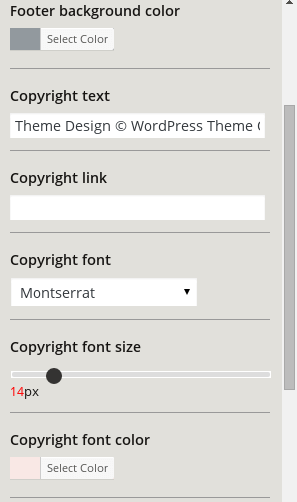
- Footer background color
- Сopyright text
- Сopyright link
- Сopyright font
- Сopyright font size
- Сopyright font color
- Сopyright font color hover
- Сopyright link underline
- Сopyright link underline hover
For save your settings you must click on save button in top panel
Menu Settings:
In Menu Settings of Base QuickStart you will have possibilities to change next options:
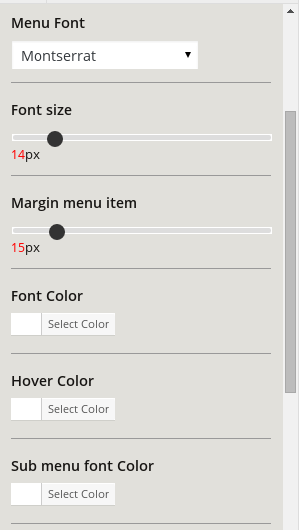
- Menu Font
- Font size
- Margin menu item
- Font Color
- Hover Color
- Sub menu font Color
- Sub menu hover color
- Menu link underline
- Links underline hover
For save your settings you must click on save button in top panel
Home page
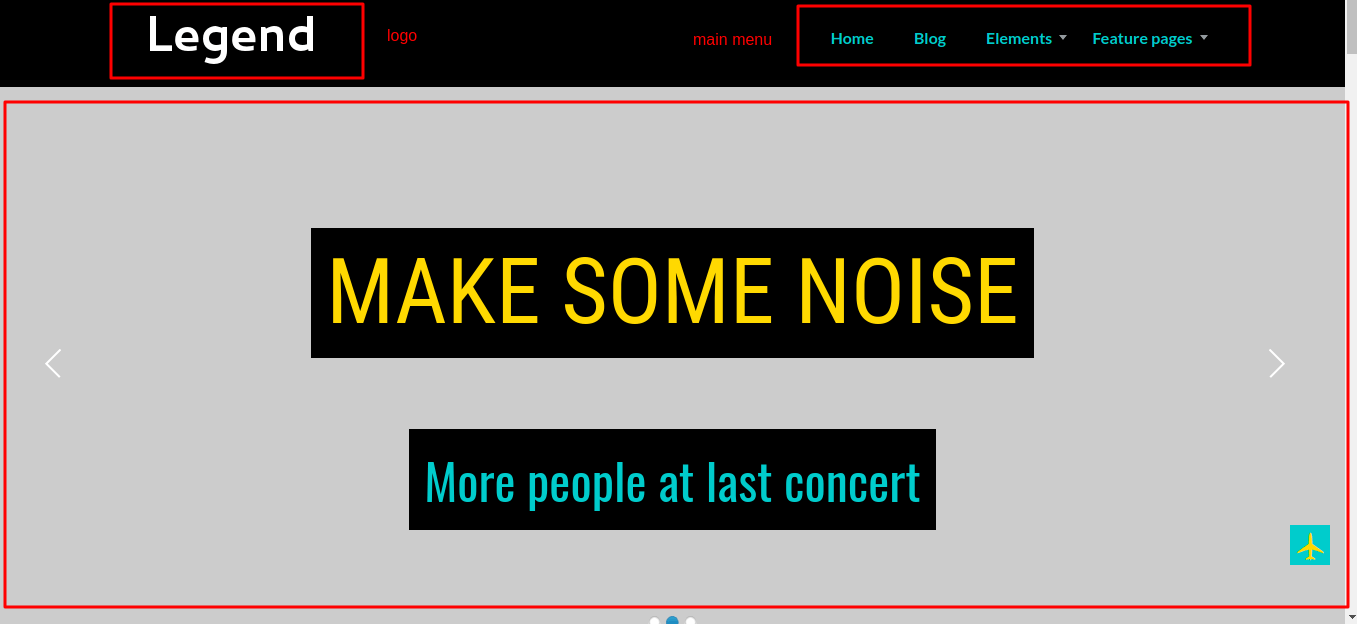
1. Logo
To change the logo image go to WordPress admin area -> Appearance -> Customize -> Logo.

2. Menu
To change the menu items go to WordPress admin area -> Appearance -> Menus.

3. Slider
To chnge the slider position go to WordPress admin area -> Appearance -> Widgets -> Top:Left.

To change the slider images go to WordPress admin area -> Slider images

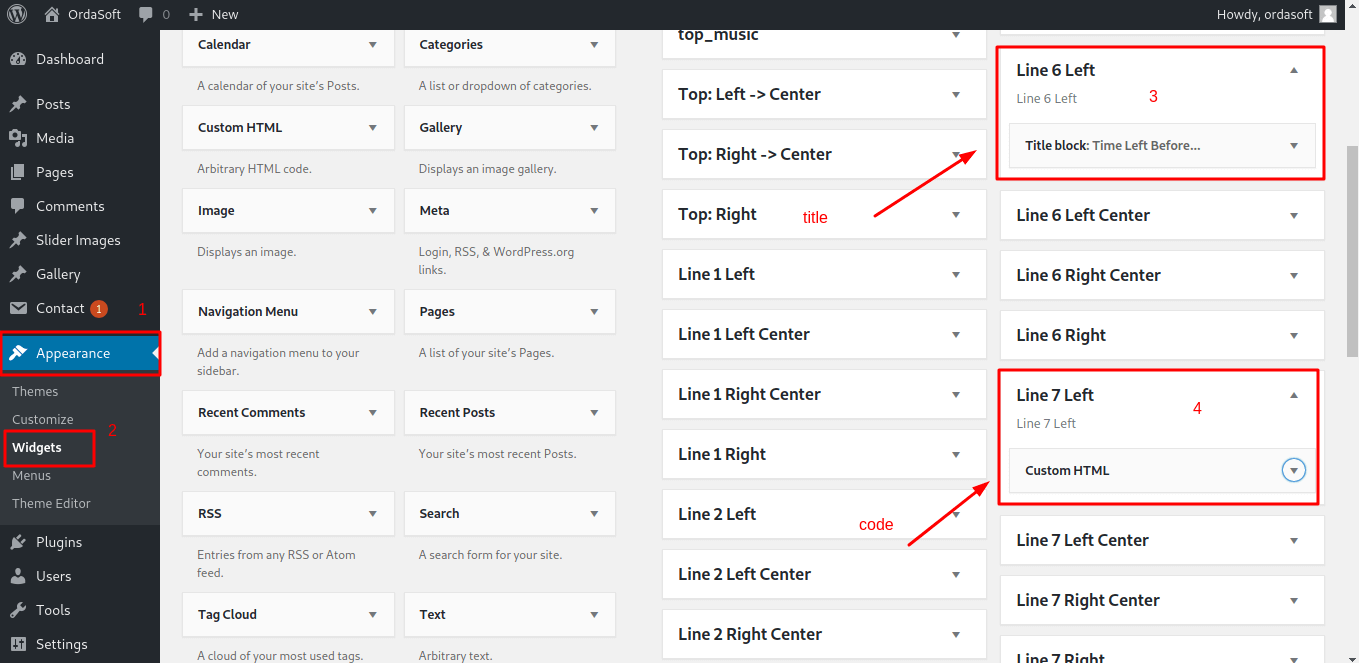
4. Time Left Before
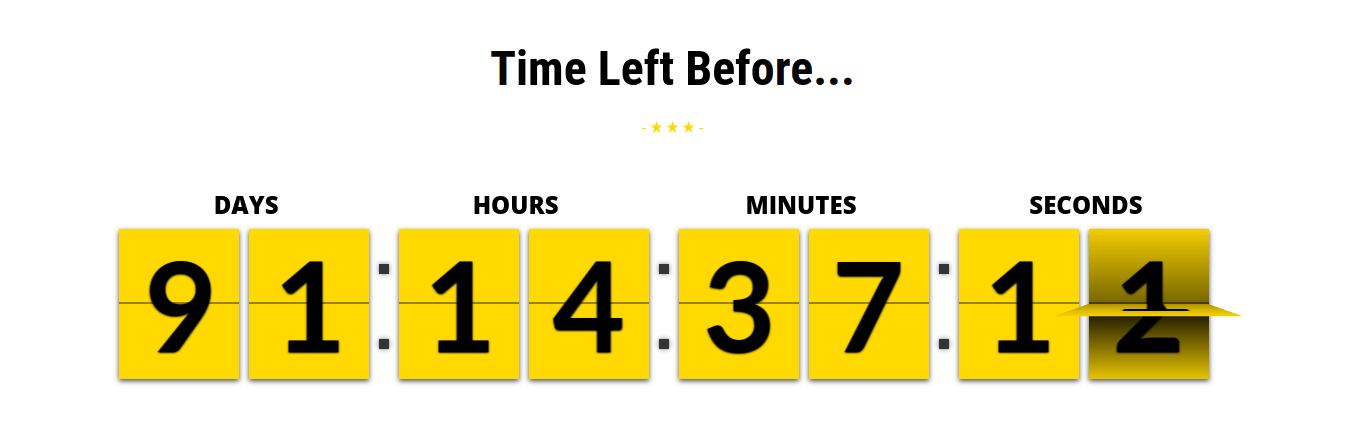
To change this section go to WordPress admin area -> Appearance -> Widgets -> Line 6:Left / Line 7:Left.
5.Best mix and sound

To change this section go to WordPress admin area -> Appearance -> Widgets -> Line 1:Left / Line 2:Left / Line 2:Left Center.

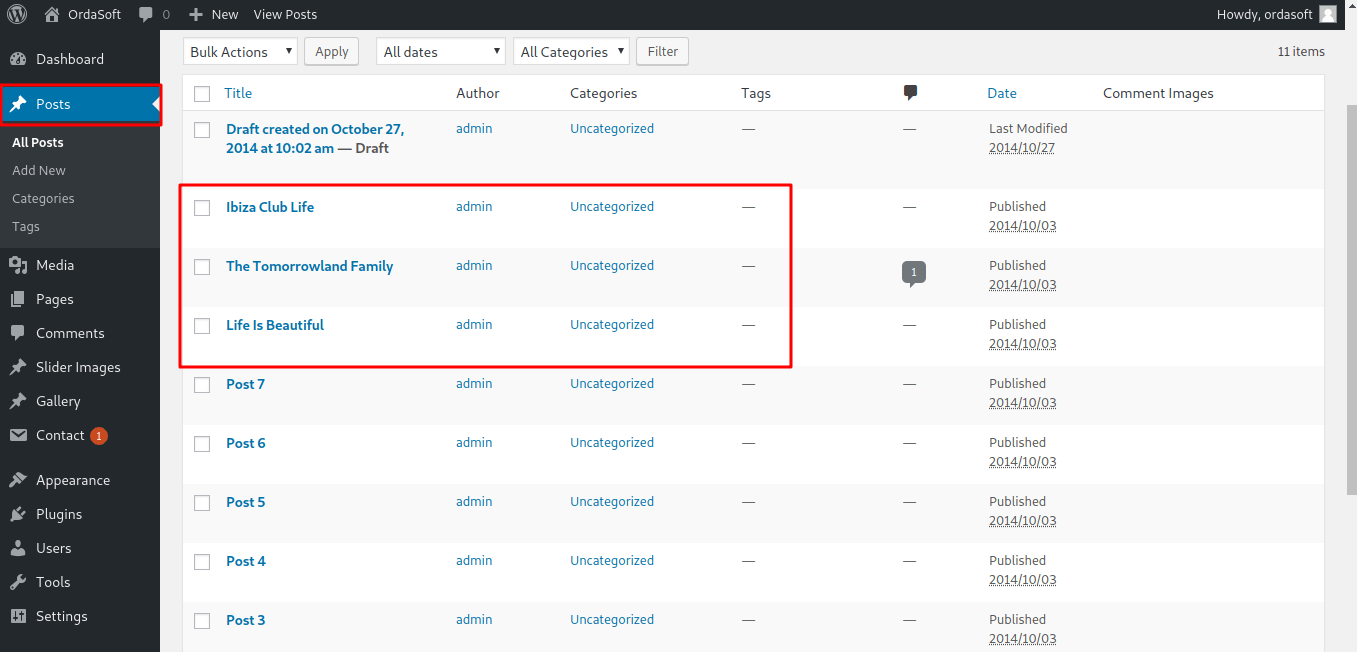
6. Last posts

To change this section go to WordPress admin area -> Appearance -> Widgets -> Line 3:Left / Line 3:Left Center.
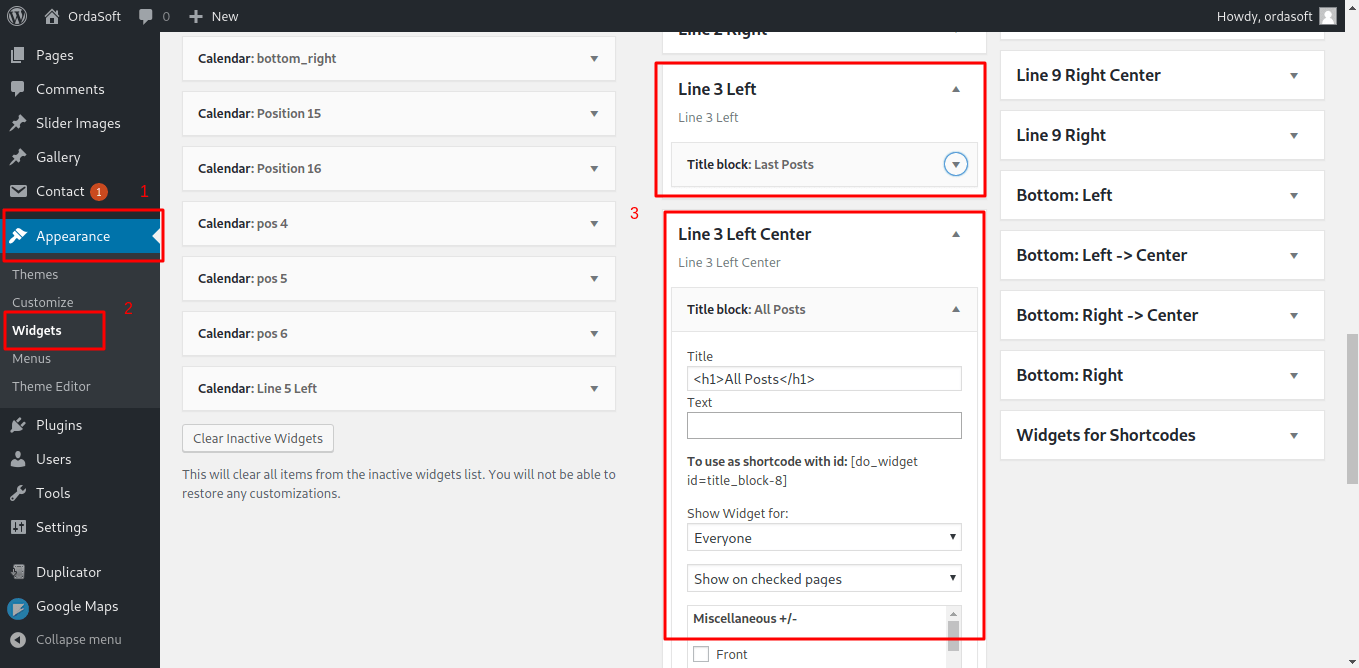
To change posts text and image go to WordPress admin area -> Posts.
7. Our Services
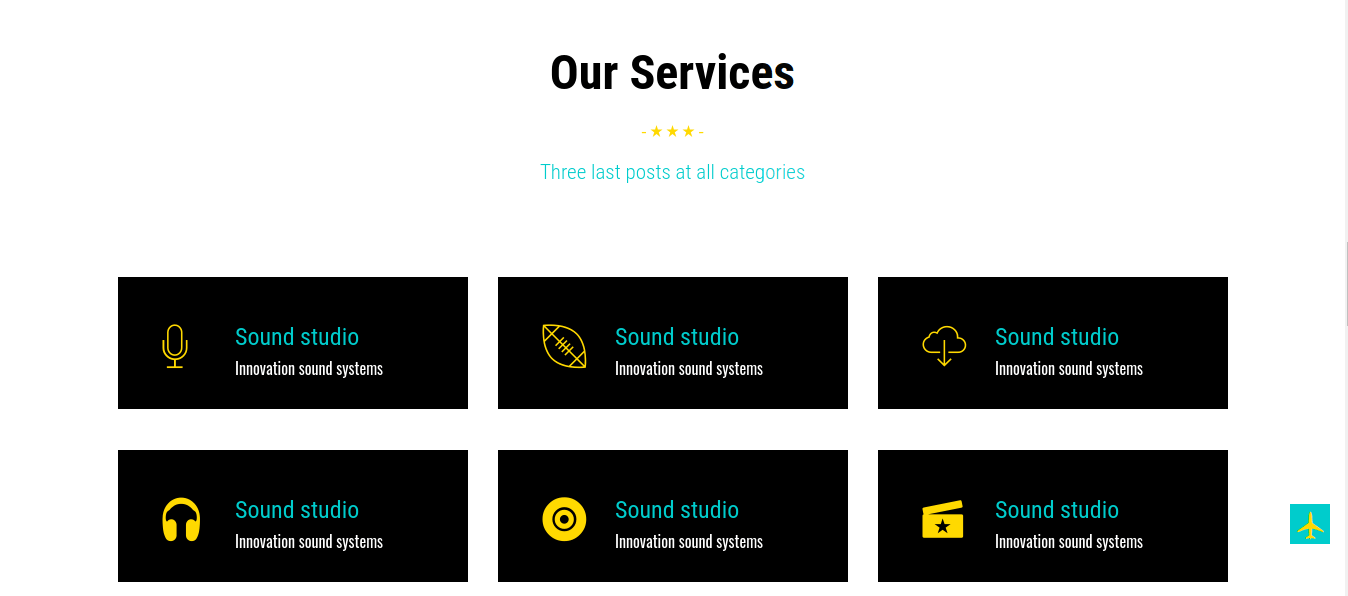
To change this section go to WordPress admin area -> Appearance -> Widgets -> Line 4:Left / Center Left / Center Left Position.

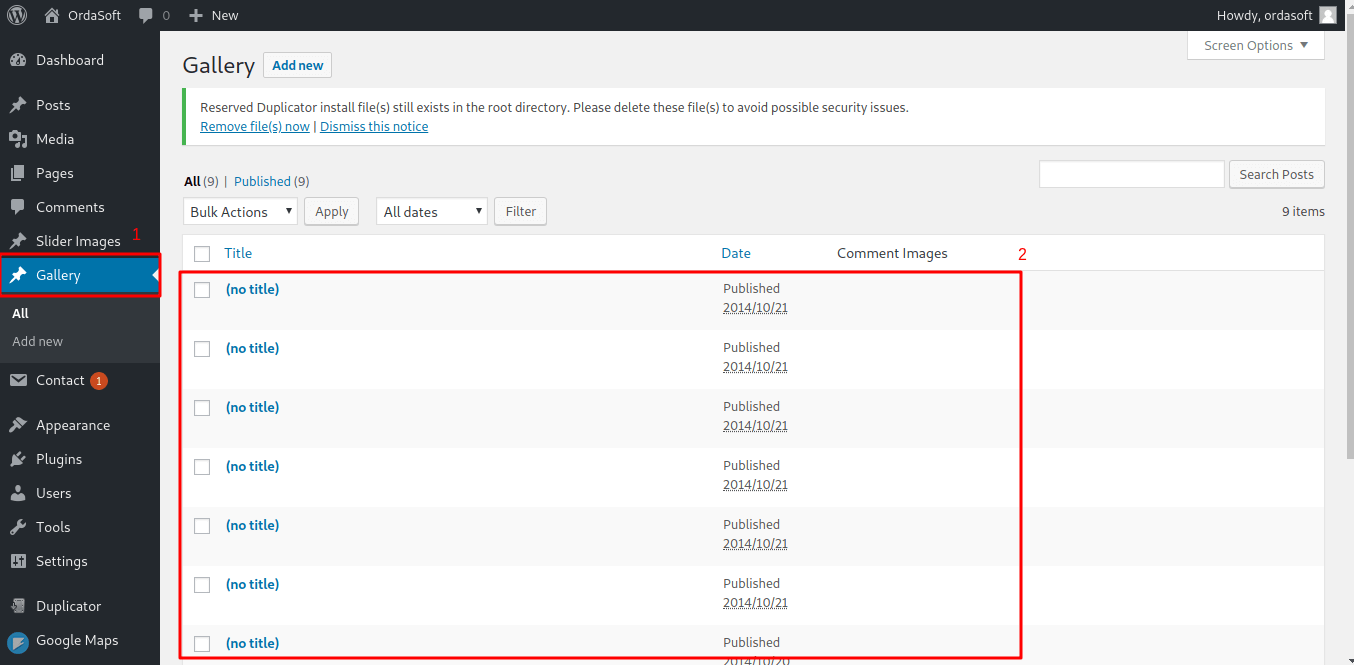
8. Portfolio
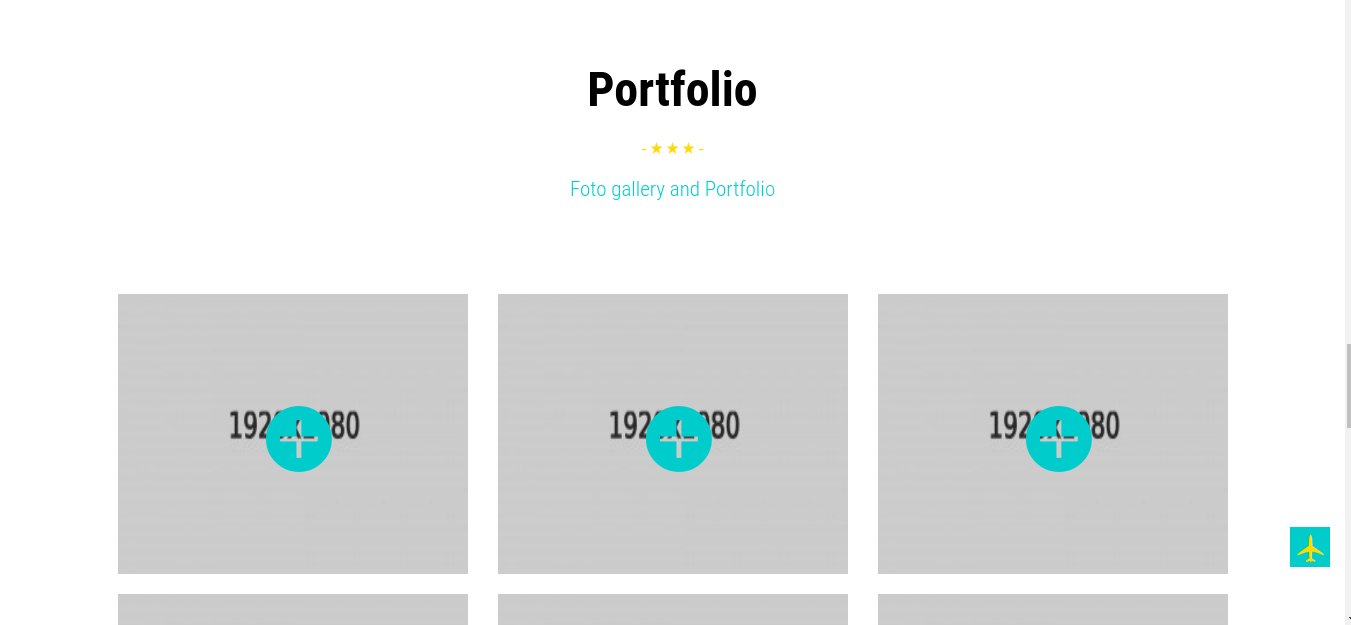
To change this section go to WordPress admin area -> Appearance -> Widgets -> Line 8:Left.

To change portfolio images go to WordPress admin area -> Gallery.
9. Our Creative Ideas
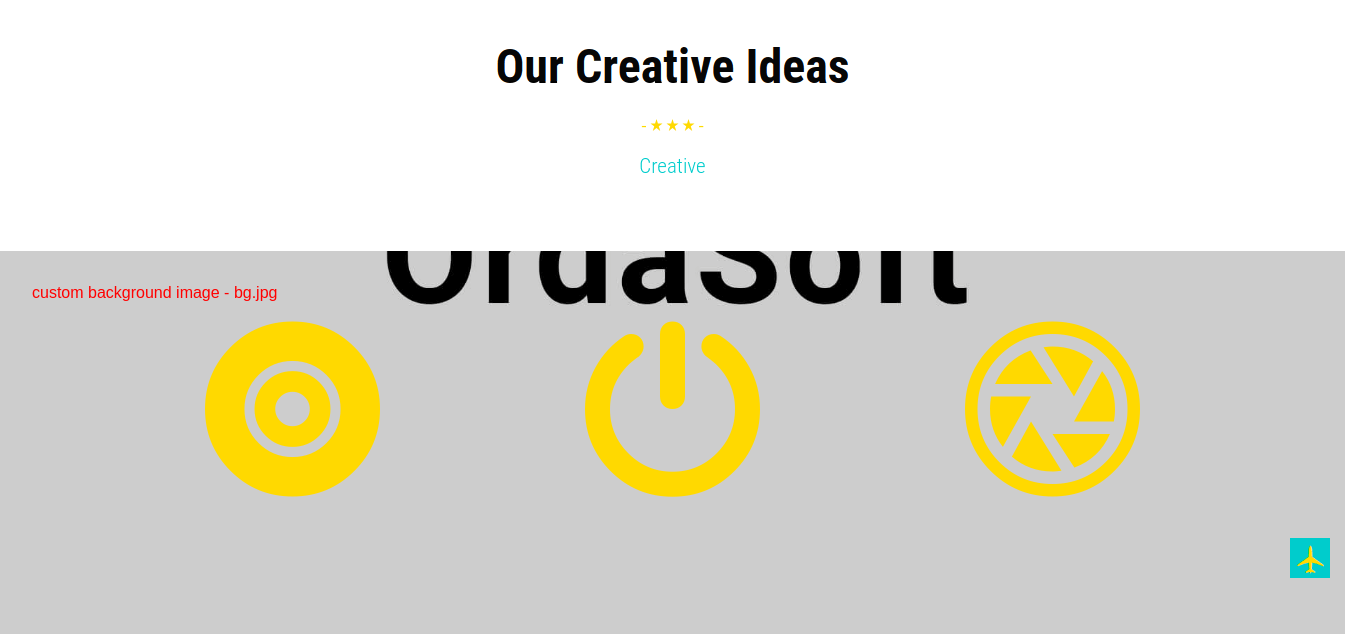
To change this section go to WordPress admin area -> Appearance -> Widgets -> Line 9:Left.

10. Footer
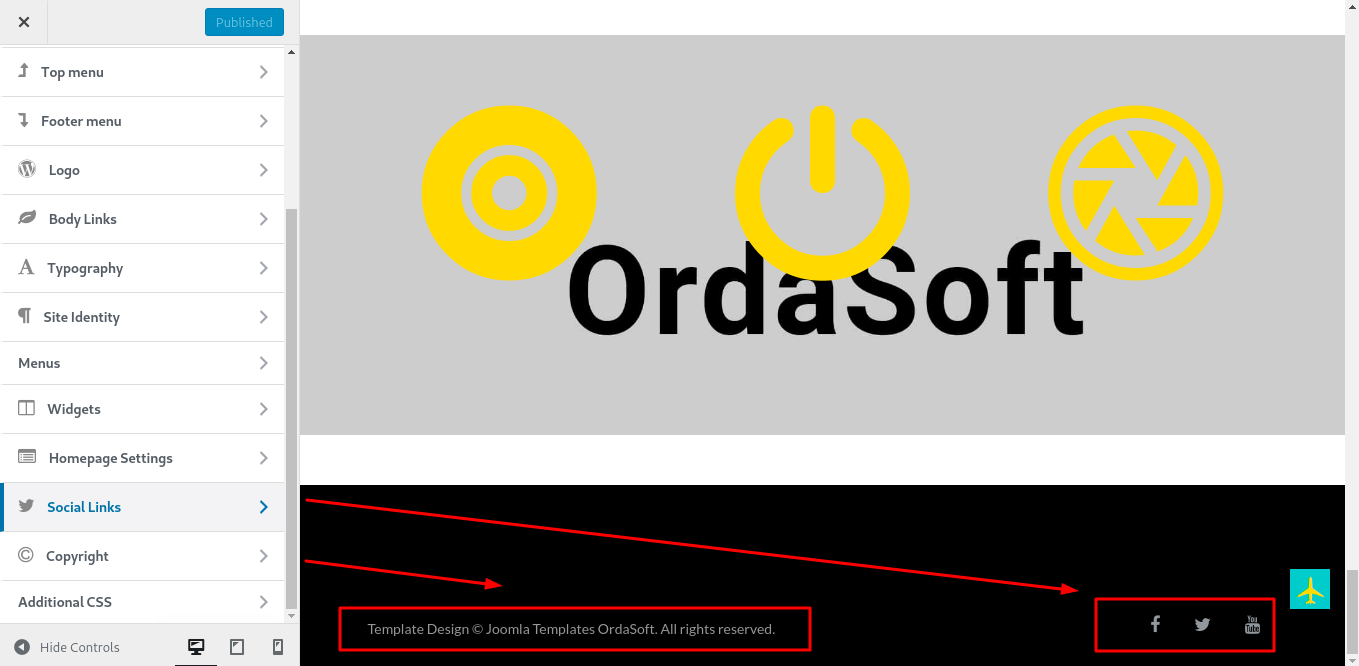
To change the copyrights go to WordPress admin area -> Appearance -> Customize -> Copyright.
To change the social icons go to WordPress admin area -> Appearance -> Customize -> Social icons.
Blog
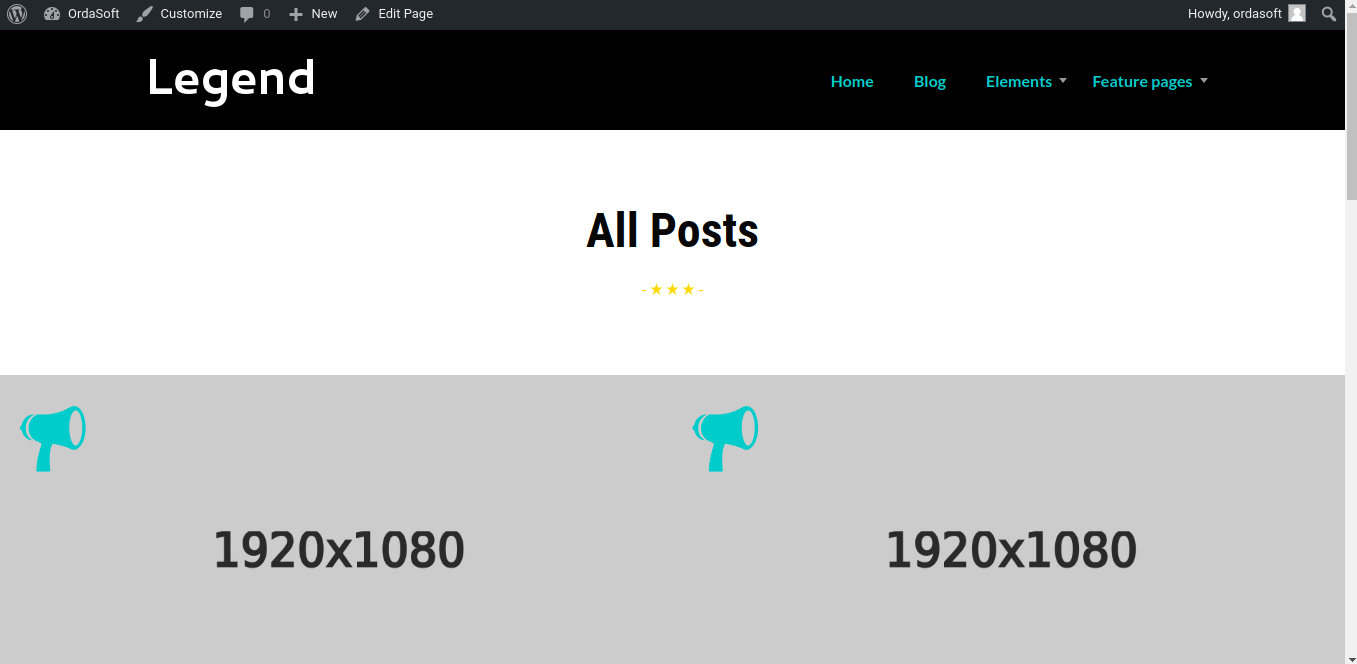
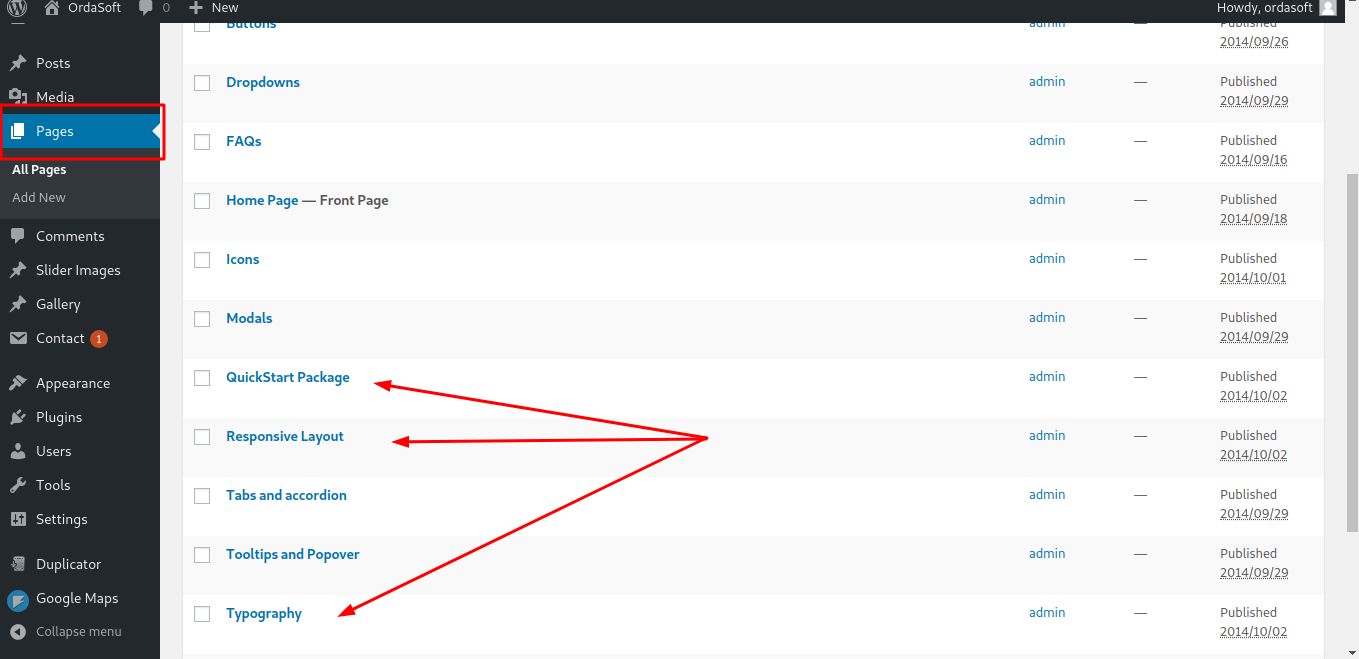
To change the blog posts go to WordPress admin area -> Pages.

Elements
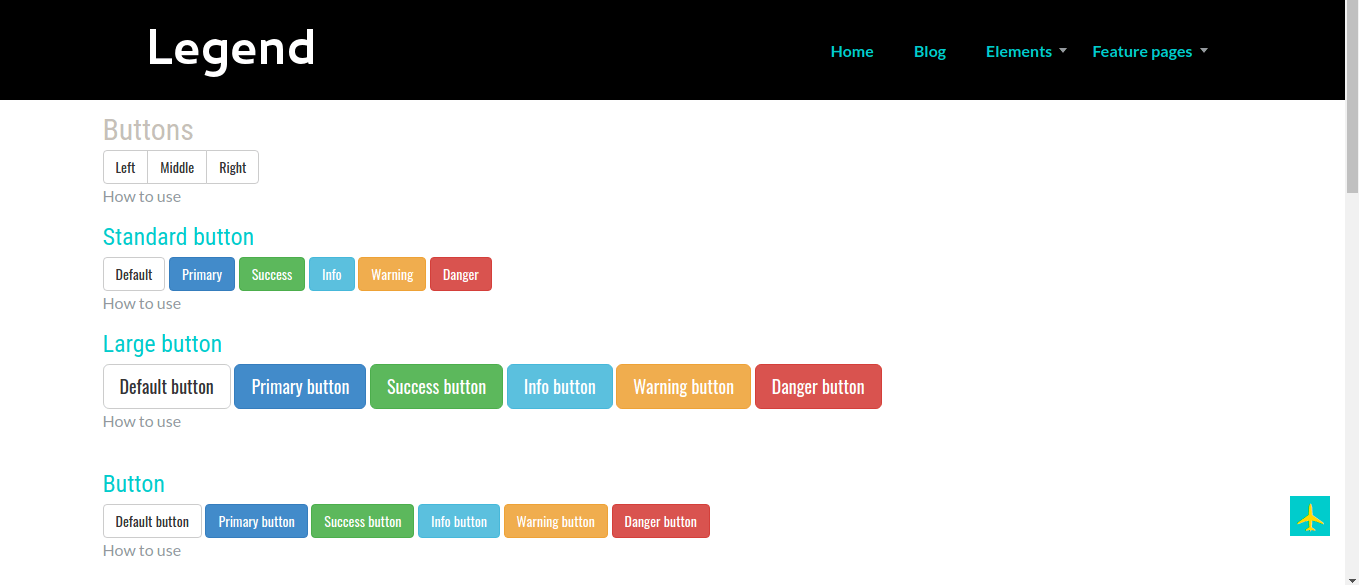
To change the elements pages go to WordPress admin area -> Pages.

Pages
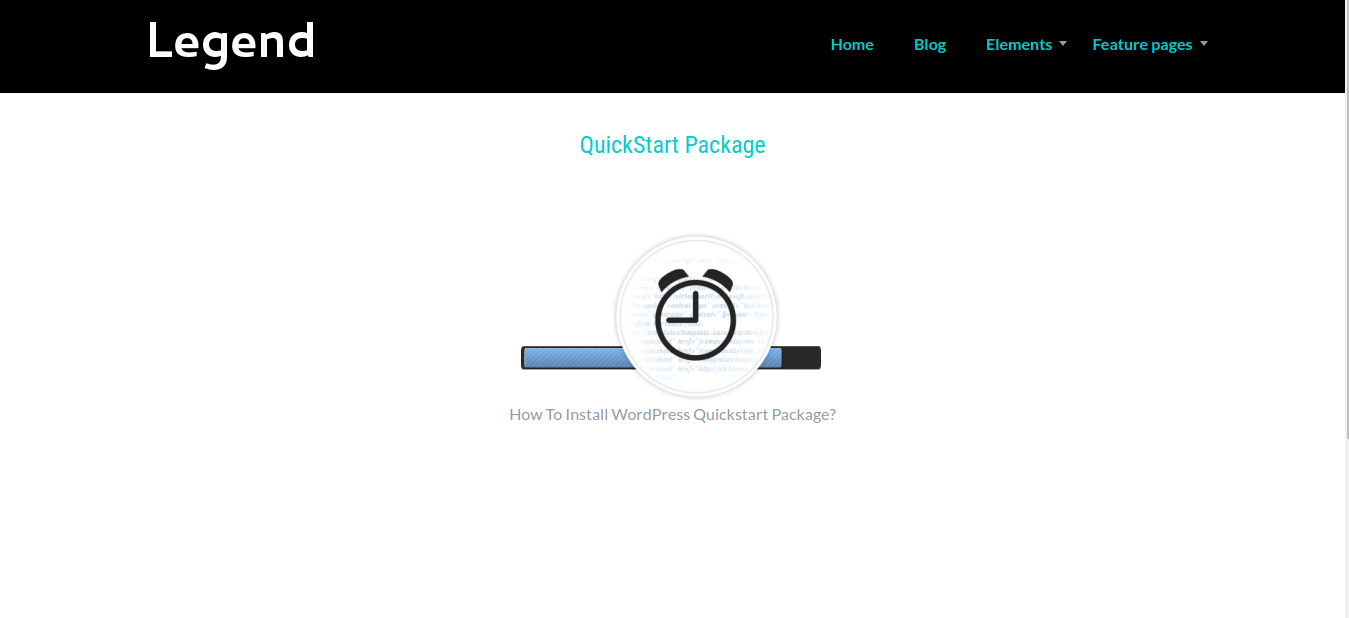
To change the custom pages go to WordPress admin area -> Pages.
Support
Support of all Themes is carried out on OrdaSoft forum
Created: 2016/01/04
- latest Update: 2020/06/16
- By OrdaSoft
- http://ordasoft.com/