How to install WordPress Quickstart package?
In All WordPress Themes packages created by OrdaSoft you can find Quickstart Package. Quickstart Package allow you to install WordPress Theme with demo data in few clicks. We highly recommend this method of WordPress installation
1. Uploading on server
Through FileZilla or another FTP software, upload all files (zip archive and installer.php) from QuickStart Package folder to your website directory.
In the directory should be one zip archive and one file installer.php
2. Run the WordPress Installation Wizard
Open your web browser and go to the folder that you uploaded your QuickStart Package and enter the installer.php.
3. Enter your details of MySQL database
Action:'Create New' will attempt to create a new database if it does not exist. This option will not work on many hosting providers. If the database does not exist then you will need to login to your control panel and create the database. If 'Connect and Remove All Data' is checked this will DELETE all tables in the database you are connecting to as the Duplicator requires a blank database. Please make sure you have backups of all your data before using an portion of the installer, as this option WILL remove all data. Please contact your server administrator for more details.
Host:
The name of the host server that the database resides on. Many times this will be localhost, however each hosting provider will have it's own naming convention please check with your server administrator.
User:
The name of a MySQL database server user. This is special account that has privileges to access a database and can read from or write to that database. This is not the same thing as your WordPress administrator account
Password:
The password of the MySQL database server user.
Name:
The name of the database to which this installation will connect and install the new tables onto.

4. Click button "Test Connection"
If everything is done right you will get status "Success" for server connection and database found. If not, please check again paragraph 3 of this tutorial.

4. Click button "Run Deployment"
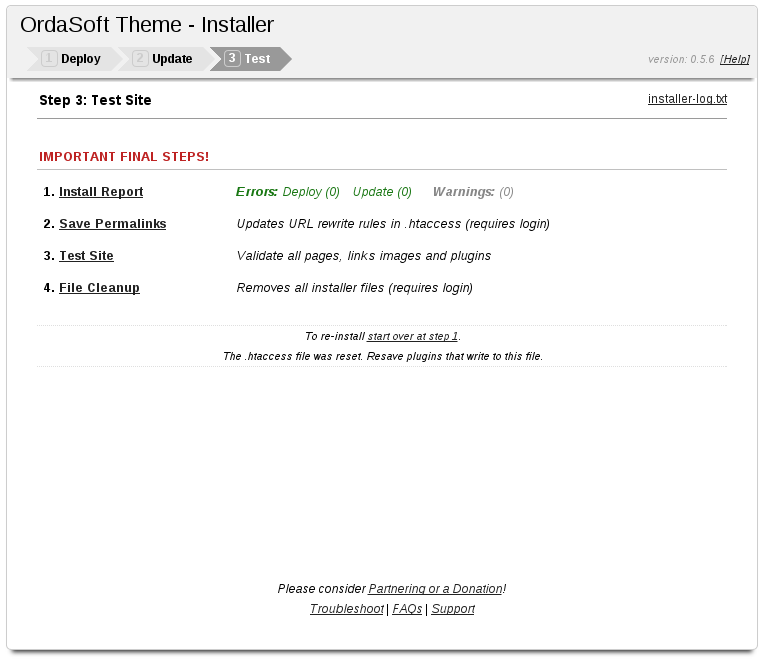
Congratulations, your WordPress website is now installed. The last step is to remove the installation directory.


