How to add an image to a Joomla article
Adding Images to Joomla Articles
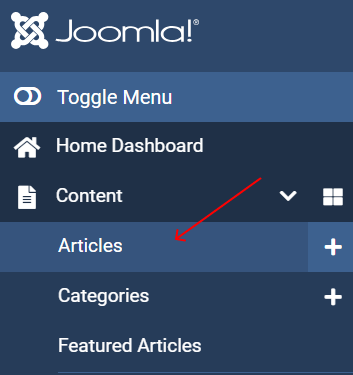
In the dashboard menu, go to "Content" and then "Articles".
Choose the article you want to add an image to by clicking on its title to edit, or create a new article by clicking on "New".
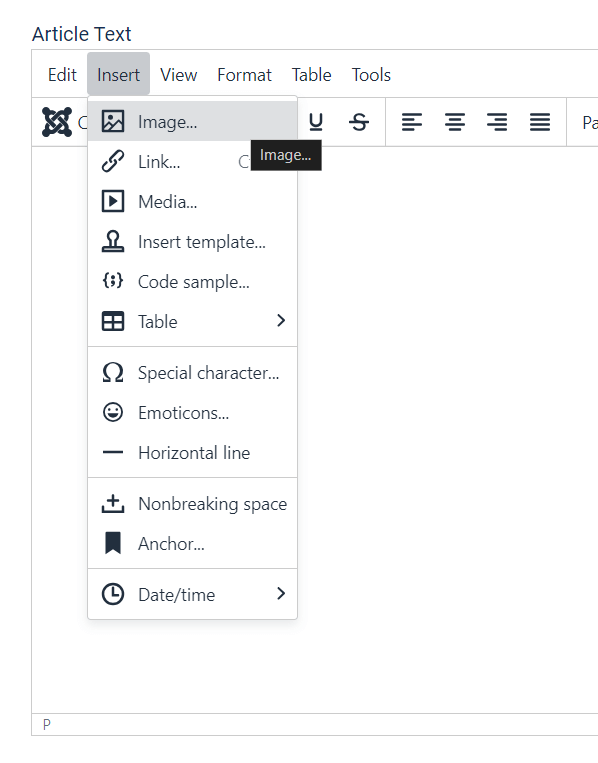
In the article editor, position your cursor where you want to insert the image. Then, click on the "Image" button in the editor toolbar.
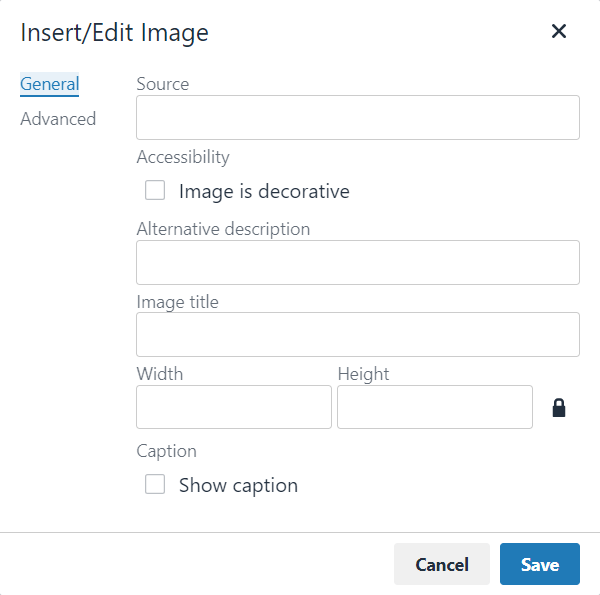
A pop-up window will appear where you can upload an image from your computer or select an existing image from your media manager.
After selecting the image, you can set properties such as alignment, size, and linking options.
Once you've configured the image properties, click on the "Insert" button to add the image to your article.
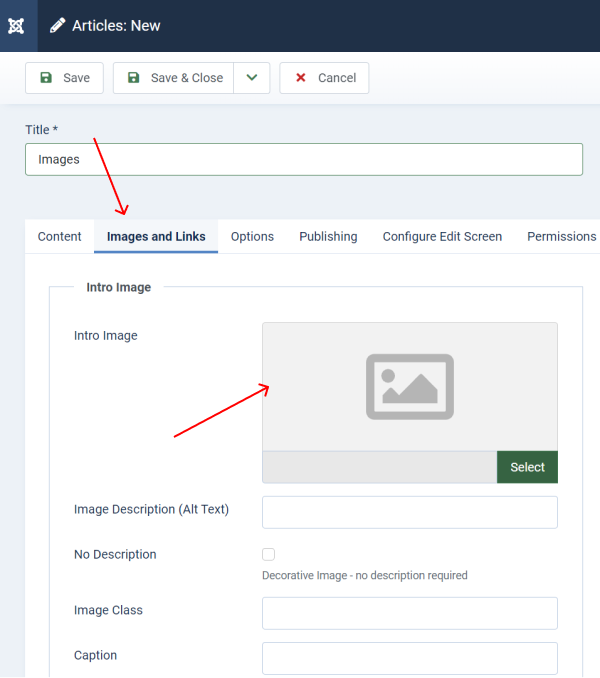
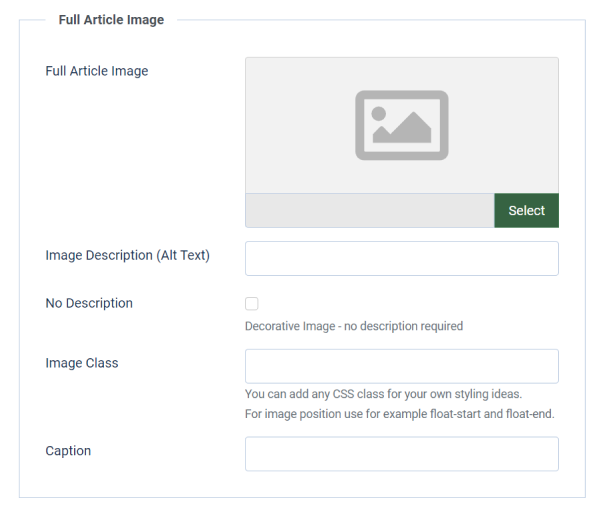
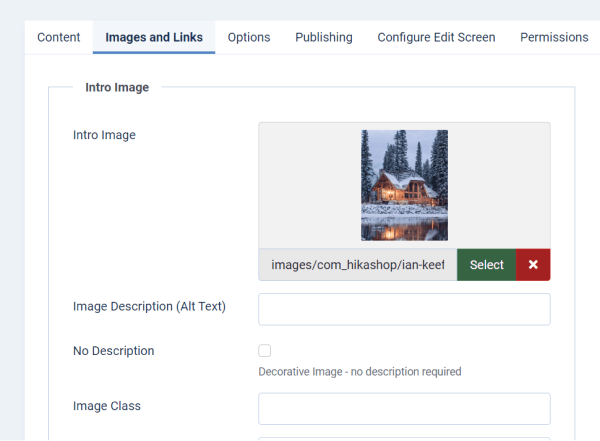
You can go to the tab "Images and Links", where you can set Intro Image for an article or add a full image for an article.
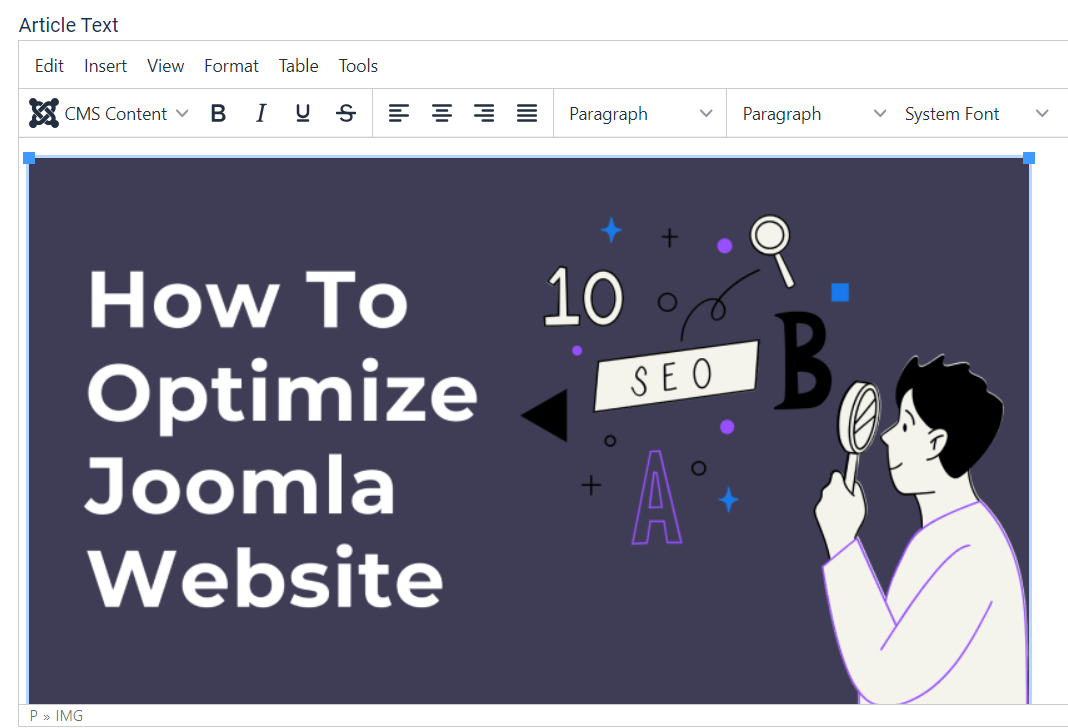
Upload an image and it will show on a page with other content.
After adding the image, make sure to save your article.

