Installing Real Estate Manager - property management joomla listing software for create real estate site
This article explains how to install Real Estate Manager, property management joomla listing software and create your own real estate website. In the next article we will look at configuring settings of Real Estate Manager
Step 1. For create Real Estate website
Log in to your Joomla Admin area
Step 2. For create Property website
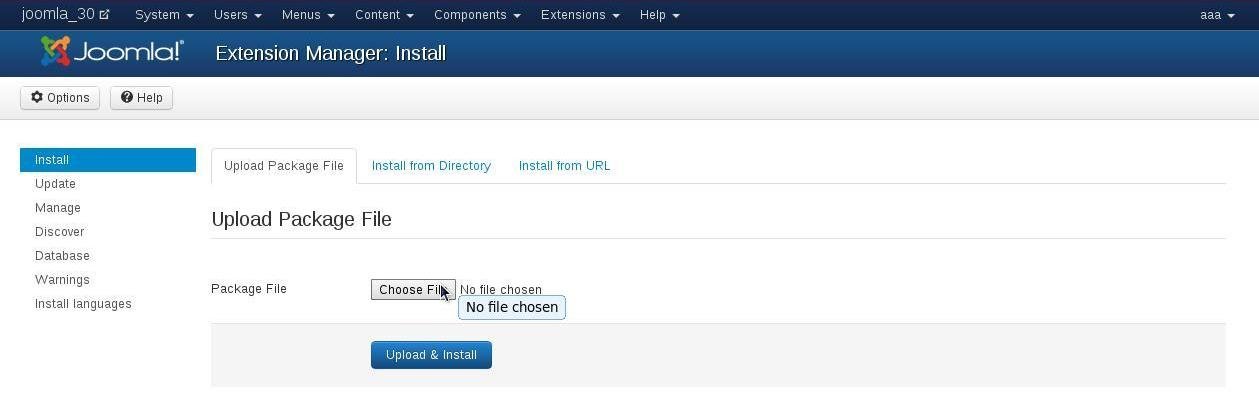
In Extension Manager: In the Upload Package File section click Choose file, select the Real Estate Manager component file (example: com_realestatemanager.zip) that you want to install;
Click Upload File & Install to upload the file and complete the installation


Step 3. For Create Real Estate website
When you click the Upload button, the Joomla component will hopefully upload successfully.You will see the following inscription:
“Install Component Success”
'Import simple data – OK”
Step 4. For create Real Estate website
To perform some type components configuration Select the Components menu and find your Joomla real estate extension.
- Real Estate Manager admin menu has the following entries:
- Houses
- Categories
- Reviews
- Suggestions
- Rent request
- Sale Manager
- Import/Export
- Features manager
- Languages manager
- Settings
- About
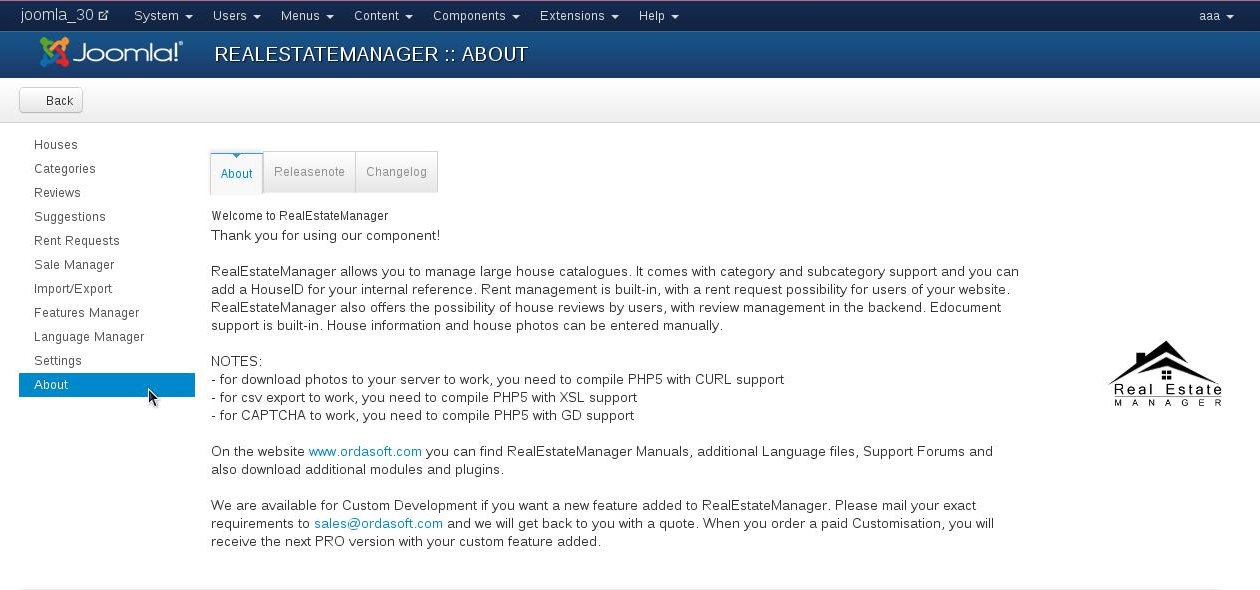
Real Estate manager About


First, check out the Components > Real Estate manager > About page, and read the Notes.
Step 5. For create Real Estate website
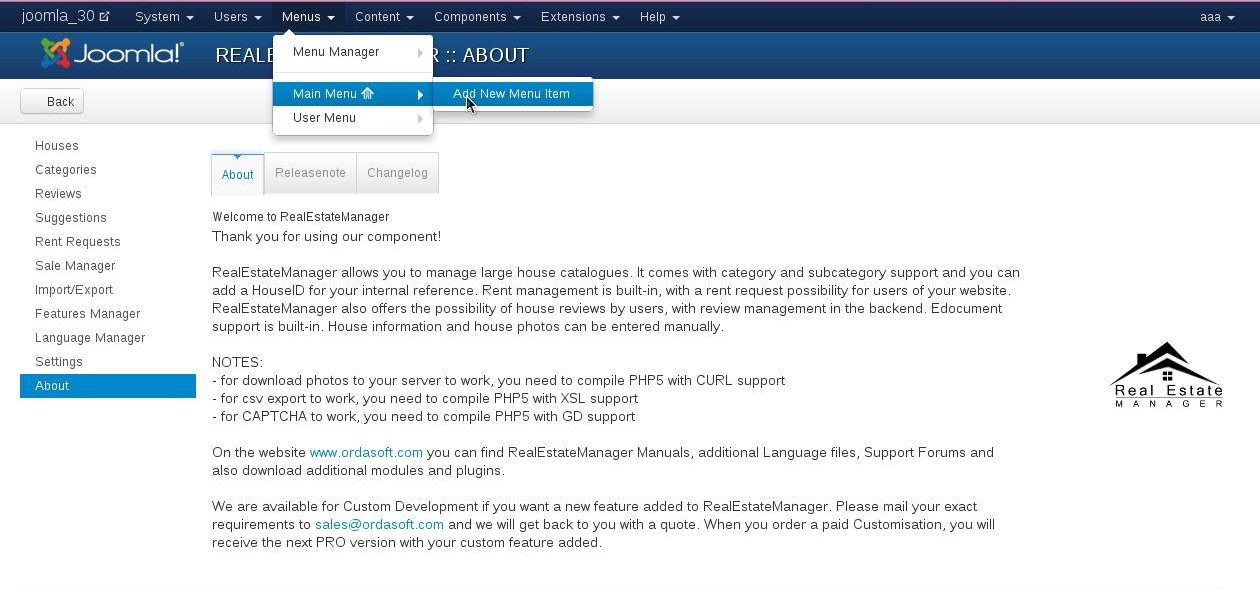
To allow access to Real Estate manager - property management joomla listing software, a menu item must be created. In Joomla Admin area select Menus > Main Menu > Add new menu item (button in right corner)


Remark about the language of the menu entries:
The language of the top menu entries are the only part of the installation which is not handled by the Real Estate Manager language files. These entries are controlled through the realestatemanager.xml file at installation time only. The menu entries in the horizontal top bar will follow the Real Estate Manager language file entries, but the top menu entries will not. So, if you also want the top menu entries to be the same as your own backend language (presuming it is not set to English), then you need to adjust the realestatemanager.xml file BEFORE you install !
Installation it is located in the directory
/components/com_realestatemanager/lang/


