How to Build a Website with Joomla CCK - Joomla Website Builder
What Is Joomla CCK?
Joomla CCK (Content Construction Kit) is a powerful Joomla website builder that extends the standard Joomla content management system and gives you much more flexibility when creating custom websites. With Joomla CCK, you can create your own content structures, custom fields, categories, layouts, and listings without being limited to Joomla's default article structure. You can build any type of website by combining different content types and fields. Using a Joomla CCK website builder, you can create:
- Blog websites with comments and ratings.
- Product catalogs.
- CV and resume listings.
- Real estate listing websites.
- Classified advertisement boards.
- Business directories.
- Custom listing websites.
- Other websites based on structured content.
Joomla CCK allows you to create custom content using different field types, including text fields, checkboxes, select lists, radio buttons, file uploads, images, URLs, prices, audio, video, and more.
These custom fields give you the flexibility to build a content structure specifically for your website instead of adapting your website to Joomla's standard content structure.
You can learn more about the available Joomla CCK field types and how each field can be used to create custom content.
How to Create a Website Content Structure with Joomla CCK
In this Joomla CCK tutorial, we will explain step by step how to create a custom website content structure using the OS CCK website builder. The basic process consists of several steps:
- Create an entity.
- Create layouts.
- Add custom fields.
- Create instances.
- Create menu items.
- Create categories and subcategories.
1. Create Entities in Joomla CCK
An Entity is the largest structural element of content in Joomla CCK. It defines the type of content that you are going to create. To create a new entity, go to:
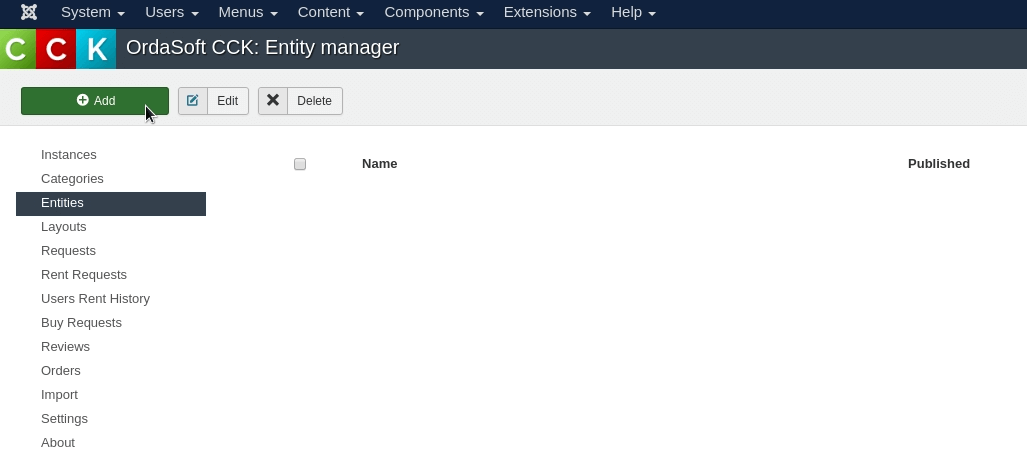
Administrator Area → Components → OS CCK → Manage Entities. Click the Add button. In the window that appears, enter a name for your entity and click Save and Close. The new entity will appear in the list of available entities. If you click its name, you can open the entity again and edit its settings.
Important: Choose the Entity Name Carefully. Once an entity is already being used to create fields, categories, layouts, or other CCK elements, you should avoid changing its name. Changing the name later may cause problems with other OS CCK components that use the original name.
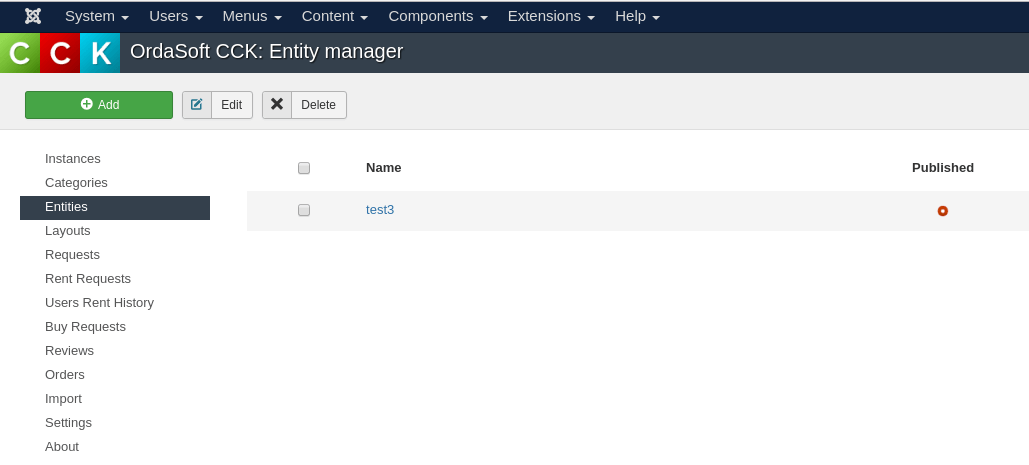
Publish or Unpublish an Entity. You can also control whether an entity is published. In the entity list, find the Publish column. A checkmark means that the entity is published and can be displayed where it is used. A red circle means that the entity is unpublished and will not be visible. Once your entity has been created, you can move on to creating its layouts.
2. Create Layouts in Joomla CCK.
A Layout defines the visual structure used to display or enter your Joomla CCK content. Layouts are built using the fields and other elements you create in OS CCK. Different layouts can be used for different purposes, including:
- Calendar layouts.
- Category layouts.
- Review layouts.
- Search layouts.
- Add-item forms.
- Purchase forms.
- Rental forms.
- Content listing layouts.
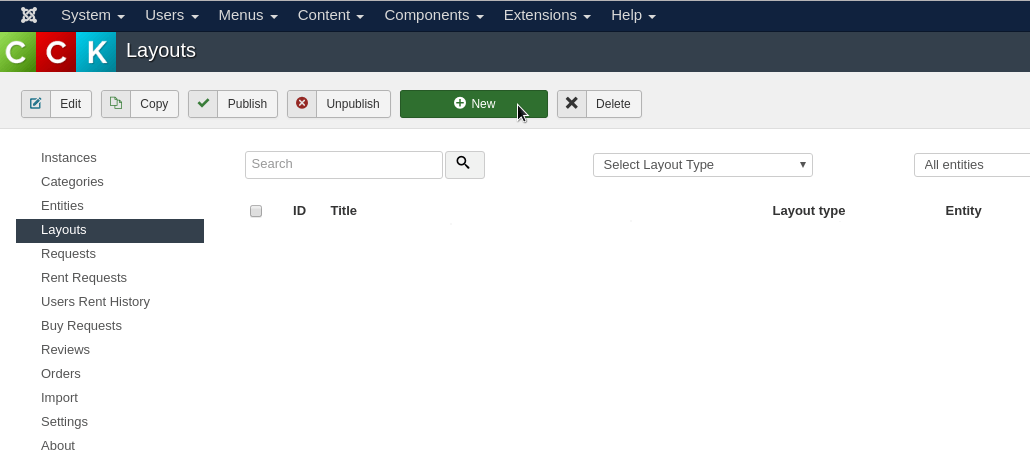
To create a layout, go to: Components → OS CCK → Layouts. Click New.
Add Instance and Show Instance Layouts
When you want to add content and display it on your Joomla website, you generally need to create two layouts:
- 1. Add Instance layout.
- 2. Show Instance layout.
These two layouts have different purposes.
Without an "Add Instance" layout, you cannot create new items.
Without a "Show Instance" layout, you cannot display your items on the website.
Therefore, creating both layouts is an important part of building a Joomla CCK website. When creating a new layout, select the appropriate entity and choose the required view type. For example, the first layout can be an Add Instance layout that visitors or administrators will use to enter new content.
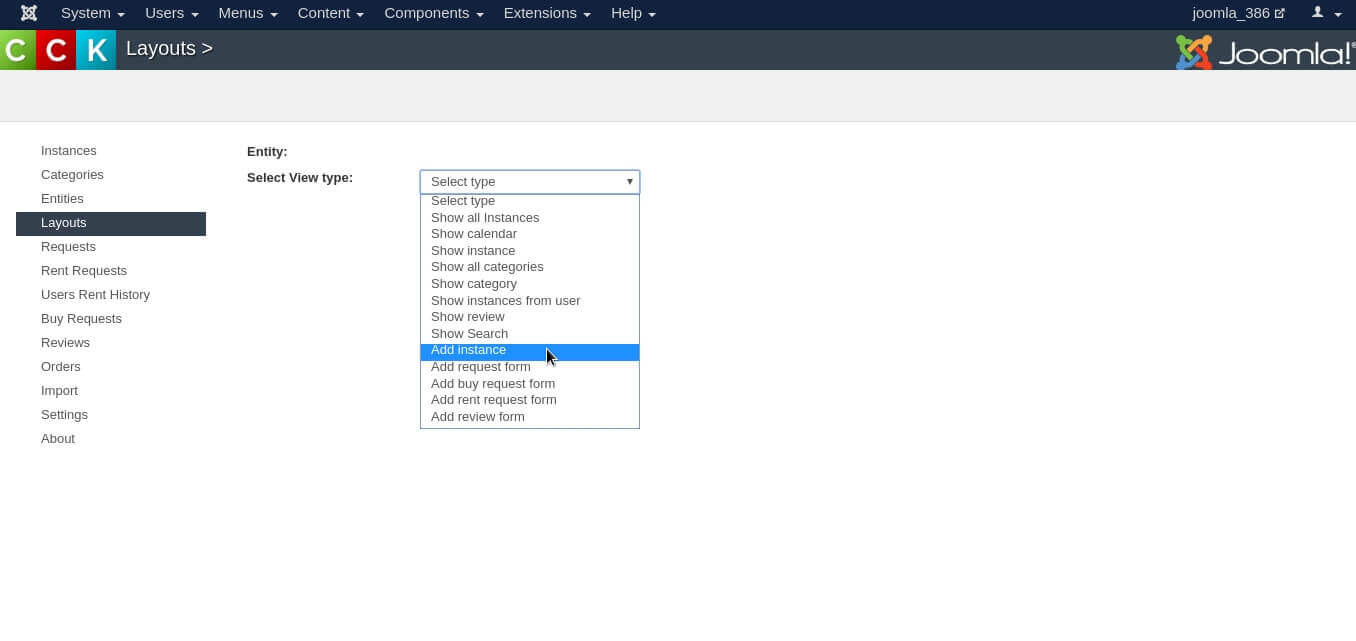
Configure Your Joomla CCK Layout
After selecting the layout type, the layout editor will open. The editor contains several functional areas that allow you to configure the form and its appearance. Depending on the layout type, available options may vary, but the general structure includes:
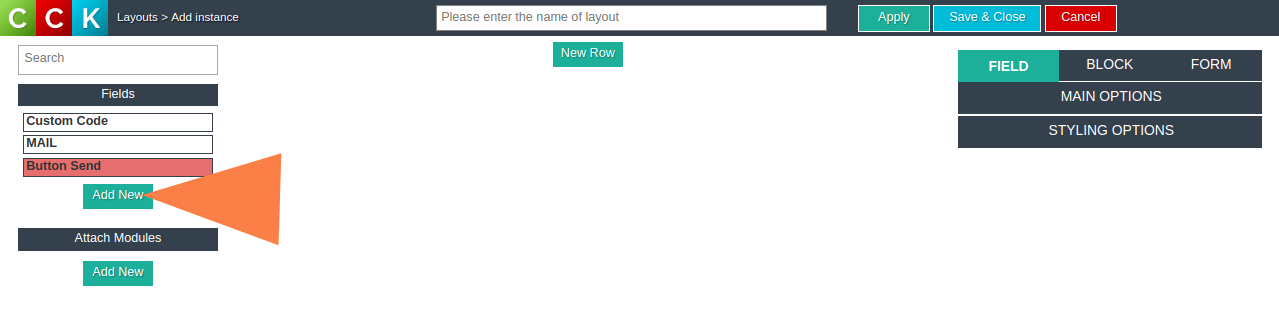
Fields
The Fields section allows you to add the fields that users will fill in when creating content.
Attach Layouts. You can attach other layouts to your current layout when necessary.
Attach Modules. You can also add Joomla modules to the layout.
Rows and Columns.
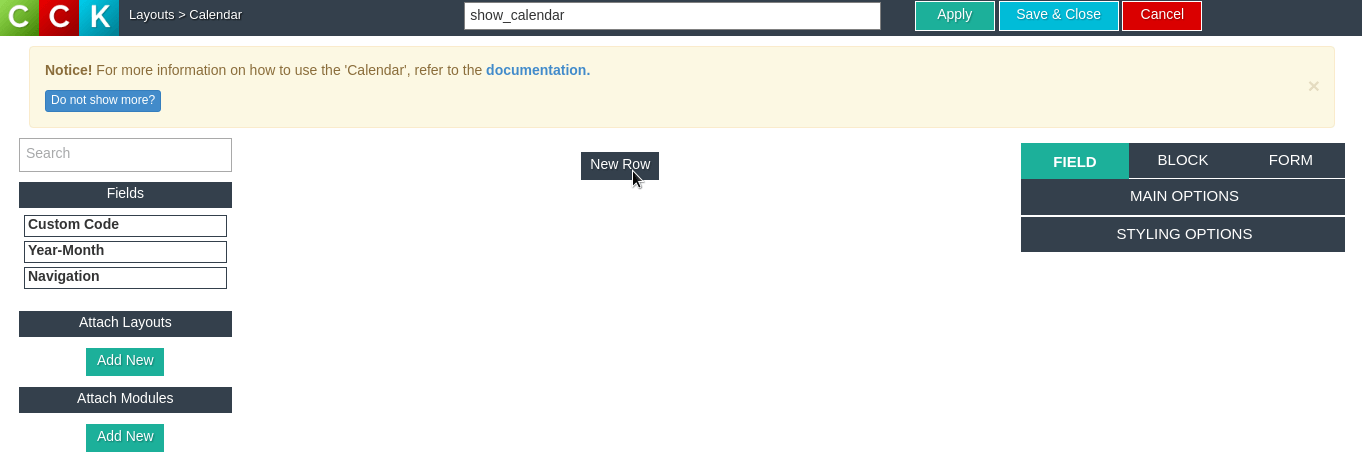
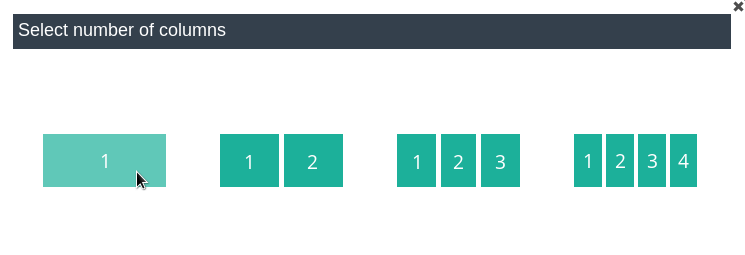
In the center of the layout editor, you will find the New Row button. Clicking this button allows you to choose how many columns you want to use in a row. You can create:
- One-column layouts
- Two-column layouts
- Three-column layouts
- Four-column layouts
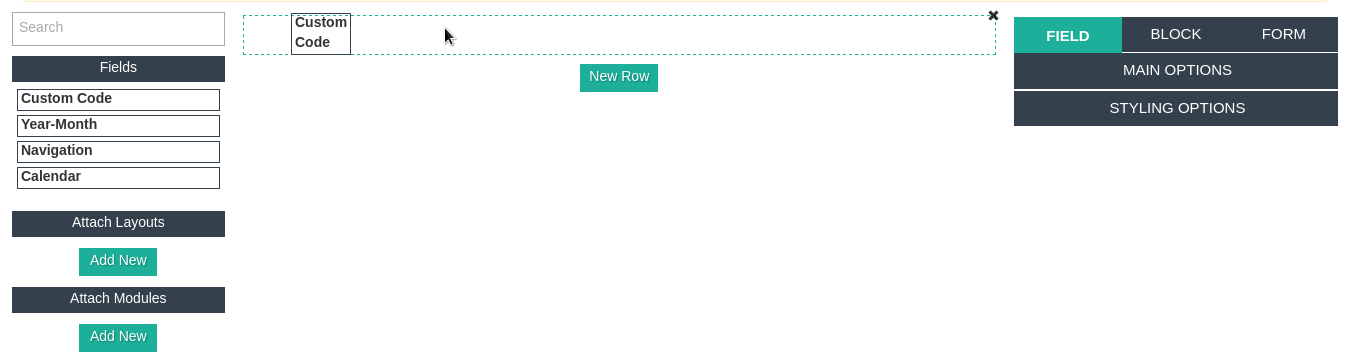
This allows you to control how your fields, layouts, and modules are arranged on the page. After creating a row, you can drag and drop the required components into the available positions. You can rearrange fields, add new elements, or remove elements that you do not need.
3. Add Custom Fields in Joomla CCK
Custom fields are one of the most important features of Joomla CCK. They allow you to define exactly what information your content should contain. For example, a real estate website could use fields such as:
- Property price
- Number of bedrooms
- Property type
- Location
- Area
- Images
- Video
- Description
A product catalog could use:
- Product name
- Price
- Brand
- Product image
- Description
- Downloadable file
- Product URL
How to Add a New Field
You can add fields while editing or creating an Add Instance layout. Click Add New under the Fields section.
Important: The layout type must be Add Instance when creating a new field. In other layout types, you can generally use fields that have already been created in the Add Instance layout. When you click Add New, a field management window will appear. Here you can:
- Edit an existing field.
- Delete a field.
- Create a new field.
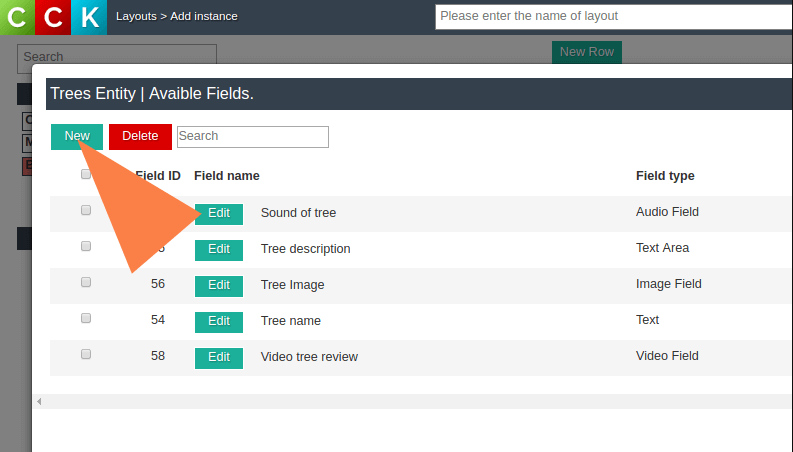
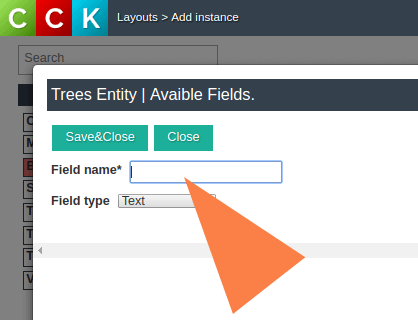
If you are creating a field for the first time, the Field ID, Field Name, and Field Type will be empty. Click New to create your field. Enter the field name and select the appropriate field type. For more information, see the guide to Joomla CCK field types. After selecting the field type, click Save and Close. The new field will appear in the list. Select the field using the checkbox and click Close to add it to your layout.
Publish and Display Your Custom Fields
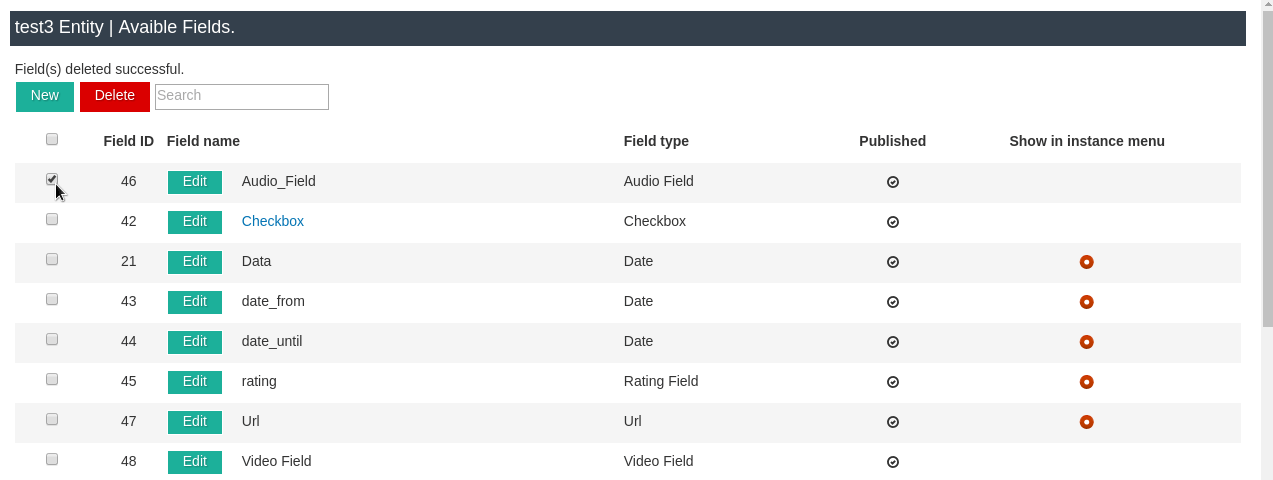
You can control whether individual fields are published. In the field management window, look for the Published column.
- A checkmark means the field is published.
- A red circle means the field is unpublished.
You can also configure the Show in Instance Menu option in the same way. This allows you to control which fields are available or displayed in your Joomla CCK content structure.
Customize Field and Layout Appearance
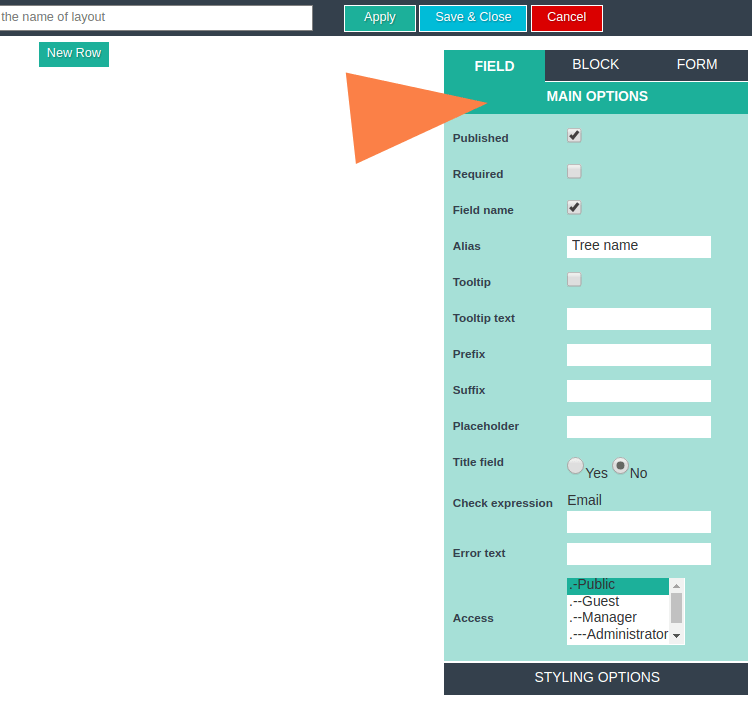
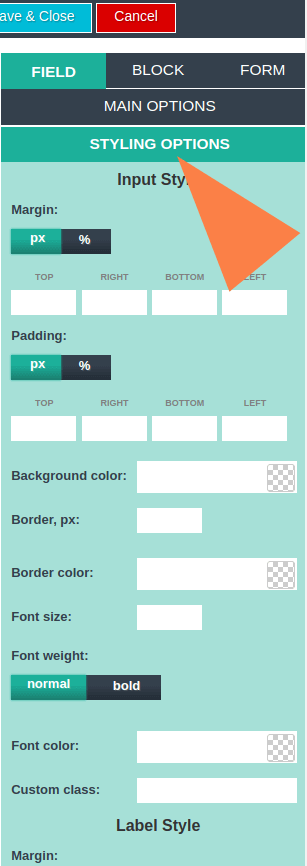
After arranging your fields into rows and columns, use the options panel on the right side of the editor. Depending on the selected element, you can configure options for:
- Fields.
- Rows.
- Columns.
- The entire form.
- Styling.
- Layout behavior.
This gives you control over both the content structure and the visual presentation of your Joomla website.
Create Instances in Joomla CCK
An Instance is the smallest individual piece of content in OS CCK. In simple terms, the entity defines the type of content, while an instance is an actual item created using that structure. For example:
Entity: Real Estate Property
Instances: Apartment in New York, House in Miami, Villa in California
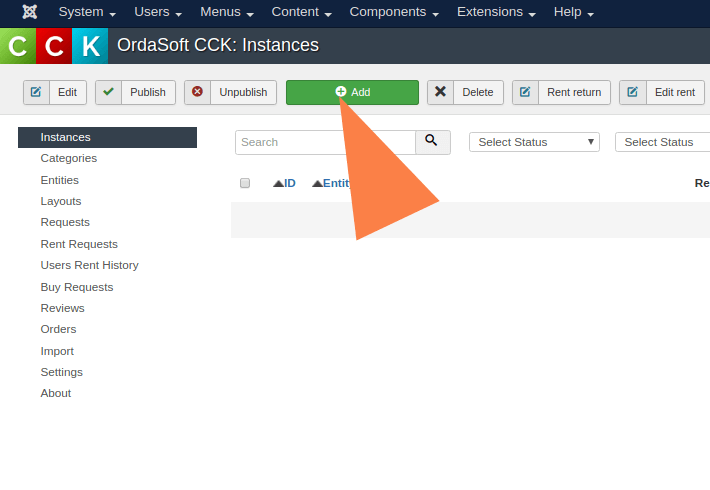
To create an instance, go to: Components → OS CCK → Instances. Click Add. The form will display the fields that you previously added to your Add Instance layout. At the top of the form, you can select the appropriate layout. To use an entity, you should first create the entity and then create an Add Instance layout connected to that entity. Once the structure is ready, you can start adding your content. Depending on your fields, an instance can contain information such as:
- Text.
- Descriptions.
- URLs.
- Prices.
- Images.
- Audio
- Video.
- Files.
- Other custom information.
Adding Images, Audio and Video
Joomla CCK also allows you to add multimedia content to your instances.
Adding Images and Files.Use the Choose File button to select an image or file from your computer. The uploaded file can then be used as part of your CCK content.
Adding Video. Joomla CCK provides several ways to add video content. You can use:

- 1. Upload Video.
- 2. Video Download Link.
- 3. YouTube Code.
To add a video, click Add Video Source File.
Upload a Video. Click Select File and choose the video file from your computer.
Add a Video URL. If the video is hosted elsewhere, you can enter its direct URL.
Add a YouTube Video. You can also add the appropriate YouTube code. The video will be displayed according to the settings you configure. If several video sources are provided, YouTube has priority. Only one video is displayed rather than all available video sources.
Add a Sign Language Track
You can also add a separate video track for sign language. Click Add New Track and enter the required information. To remove a video, select Delete Video and click Apply or Save & Close.
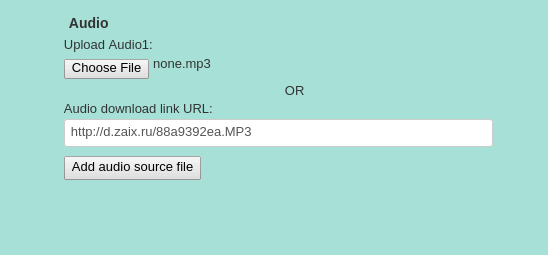
Adding Audio to Joomla CCK, Audio can also be added to an instance in two ways:
- 1. Upload an audio file.
- 2. Add an audio URL.
Click Add Audio Source File. To upload audio, click Select File and choose the audio file from your computer. To use externally hosted audio, enter the direct URL in the appropriate field. To remove an audio file, select Delete Audio and click Apply or Save & Close.
5. Create a Joomla CCK Menu Item
After creating your layouts and content, you need to make them accessible from the frontend of your Joomla website. To do this, create a new Joomla menu item. Go to your Joomla menu manager and click New. Configure the standard menu settings, including:
- Menu Title
- Menu
- Parent Item
- Ordering
- Status
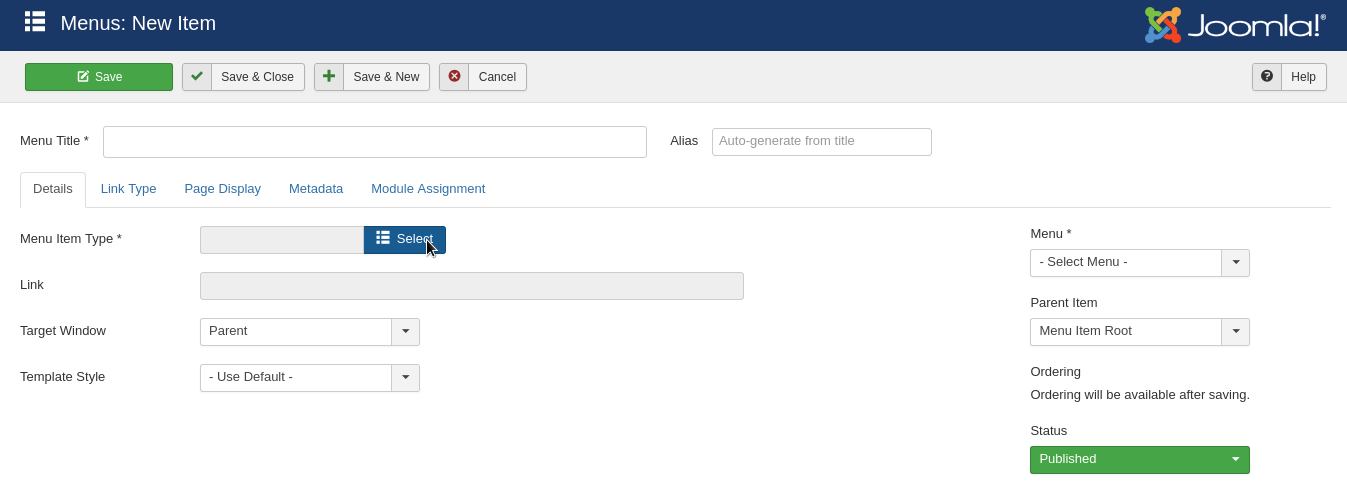
Make sure the menu item is Published. Then click Select in the Menu Item Type field. Select: Joomla CCK. From the available options, choose the layout you want to display.
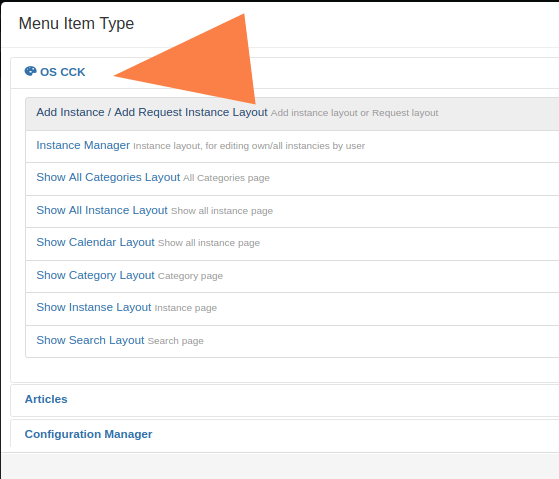
Configure the CCK Menu Parameters
After selecting the Joomla CCK menu item type, open the Params tab. Find the Request Layout field and click Select. Choose the appropriate layout, such as:
- add_instance
- add_request_form
Save the menu item. Your Joomla CCK layout can now be accessed through the website's navigation menu.

Create Categories and Subcategories in Joomla CCK
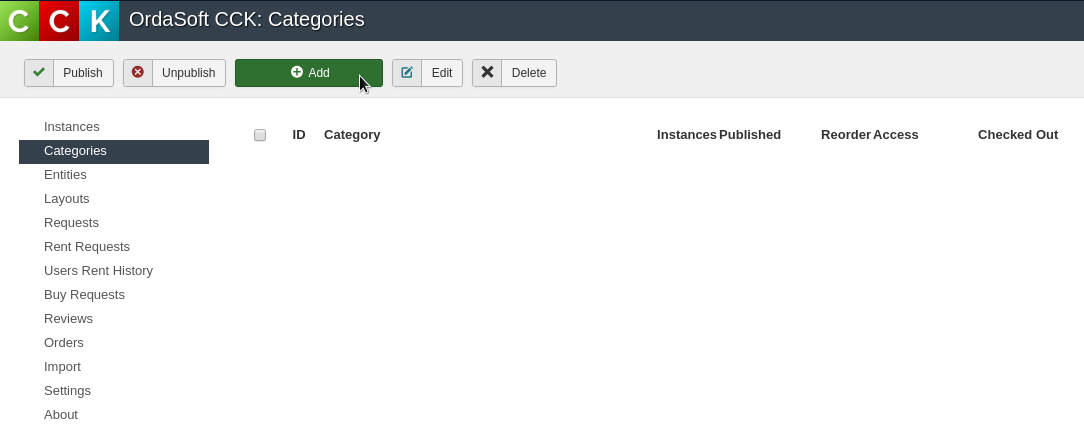
Categories help you organize your Joomla CCK content and create a logical website structure. With OS CCK, an instance can be assigned to multiple categories and subcategories. To create a category, go to:
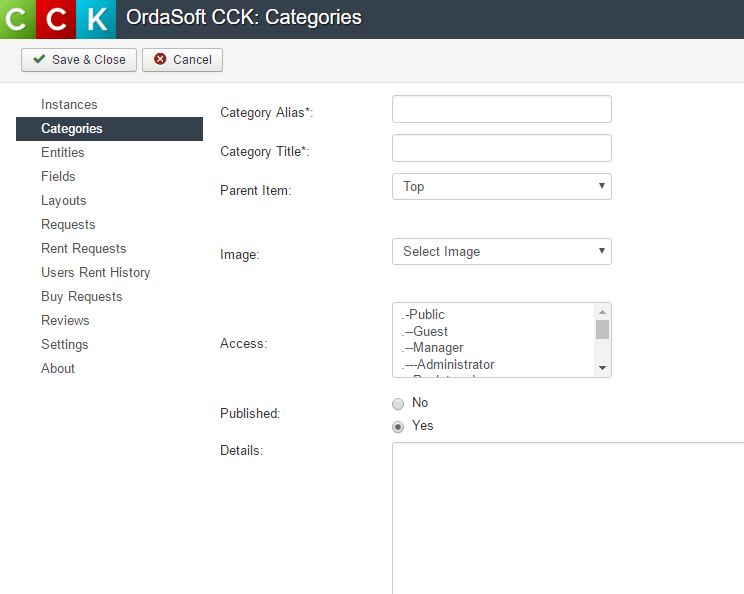
Components → OS CCK → Categories. Click Add. In the category settings, enter:
- Category Title.
- Category Alias.
- Parent Item.
- Image.
- Access.
- Published status.
- Details.
The Category Title is the name visitors will see on your website. The Parent Item option allows you to create a hierarchy of categories and subcategories. For example: Real Estate → Apartments, Houses, Villas, Commercial Properties. This category structure makes it easier to organize large amounts of custom content.
Once you have created your entities, layouts, fields, instances, menu items, and categories, your content can be displayed on the frontend using the layouts you configured. You can learn more about the available Joomla CCK layouts and how to customize them for different types of websites.
Joomla CCK gives you a flexible way to create custom websites and structured content without relying only on Joomla's standard article system. By combining entities, custom fields, layouts, instances, categories, and menu items, you can create everything from directories and product catalogs to real estate listings, CV websites, classified ads, and other custom Joomla projects. Entity → Layout → Custom Fields → Instance → Menu Item → Categories. With this, you can use Joomla CCK to build highly customized Joomla websites for your specific content and business requirements.
Other documentations of Joomla CCK - website builder:
we support payment systems