Start to build website with Joomla CCK - joomla website builder
What is Joomla CCK - website builder?
CCK is a website builder that enhances standard Joomla content manager and helps to implement almost all your ideas of building websites. Website builder allows you to make up your own data structure - unlimited nested and multiple categories for each content item.
Some examples what you can create using Joomla CCK - website builder:
- blog with comments and rating system
- product catalogs
- CV listings
- real estate listings
- advertisement boards
- directories
All these websites you can create with the help of custom fields (content types) like checkboxes, select, radio buttons, downloadable files and more. These fields give you great flexibility to create exactly what you need. Read more about Joomla CCK field types.
How to create structure of the website content using Joomla CCK - website builder?
The following tutorial is step by step instruction to create structure of the website content using OS CCK - website builder.
There are simple steps you need to do.
1. Create entities in Joomla CCK - website builder
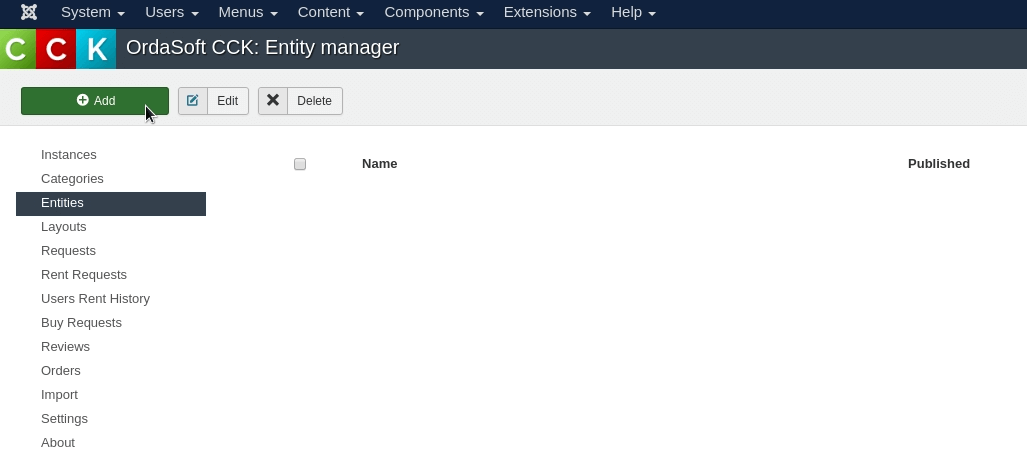
An Entity is the largest piece of content in Joomla CCK - page builder. To create entity, go to Admin Area -> Components -> OS CCK -> Manage Entities and click on "Add" button. In the window that appears, fill in the Name field and click Save and Close. In the Name box below you should see the name that you entered and if you click on it with the mouse you will return again to the entity itself and you will be able to edit or change the Name. But if you already use this name when creating elements, categories or mockups, then you can not change the name as this can lead to disruption of the operation of the components of the SSC in which they are used.
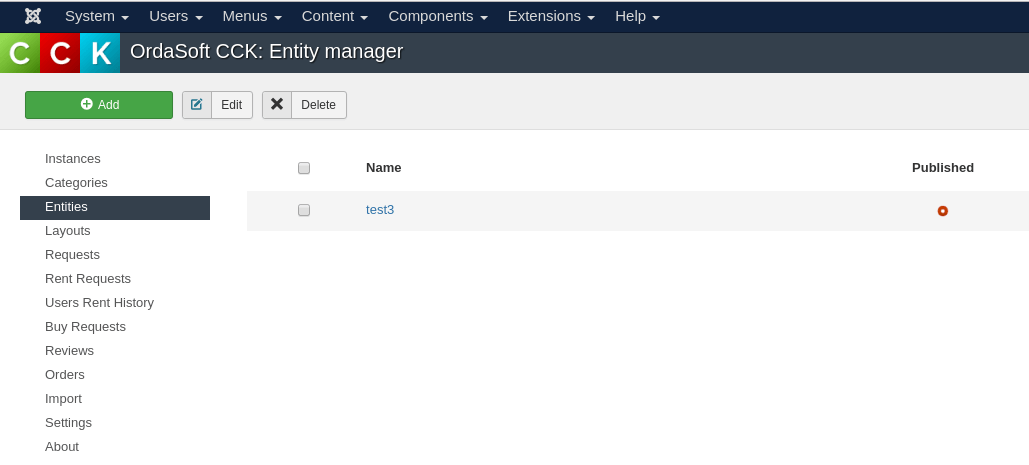
Also in Joomla CCK - website builder you can configure whether the entity is published or not. This can be done by clicking at the bottom under the column "Publish". After you have finished creating the entity, you should see a row with the Name and Publish columns filled in. When you click and show a tick under the graph to Publish it means that the entity will be published and visible wherever it is used, if a red circle is visible it means that the entity will not be visible.
2. Create layouts in Joomla CCK - website builder.
In Joomla CCK - website builder, Layout is the visual structure of the page that consists of pre-created fields. Next, you'll see layouts, they are all different and designed for different options of joomla templates. There are such models as a calendar, categories, reviews, search, adding a form for purchase, adding a form for rent. Below, we'll show you how to add all these layouts and what features you need to do in order to customize each layout. The first thing to do is go to the Component -> OS CCK -> Layouts tab and click the New button.
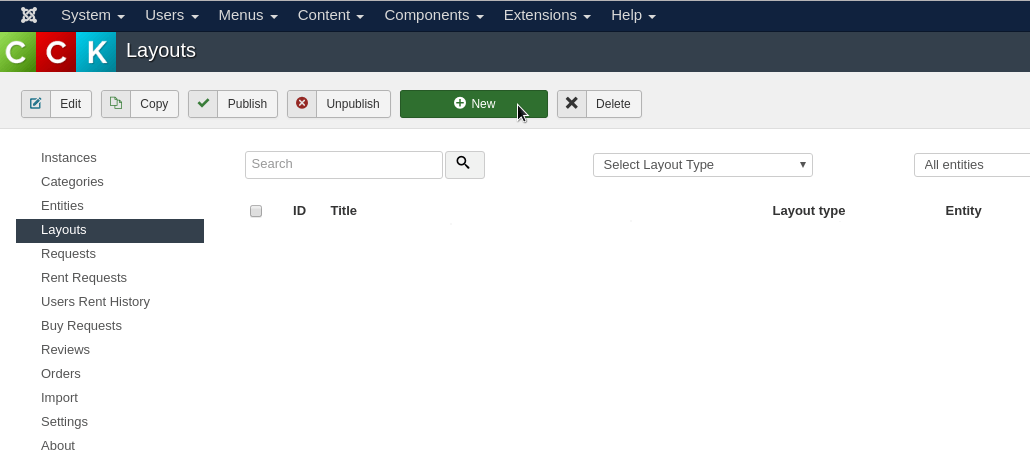
In Joomla CCK - website builder to add instances and display it on frontend, you have to add two layouts: at first Add instance layout and then Show instance layout.
- Without creating "CCK Add layout" - you can't add new Items.
- Without creating "CCK Show layout" - you can't show your Items.
After you go to the Component -> OS CCK -> Layouts tab and click the New button in the Entity: Select View type field, in the list that appears, select the desired layout first, it will be the Аdd instance.
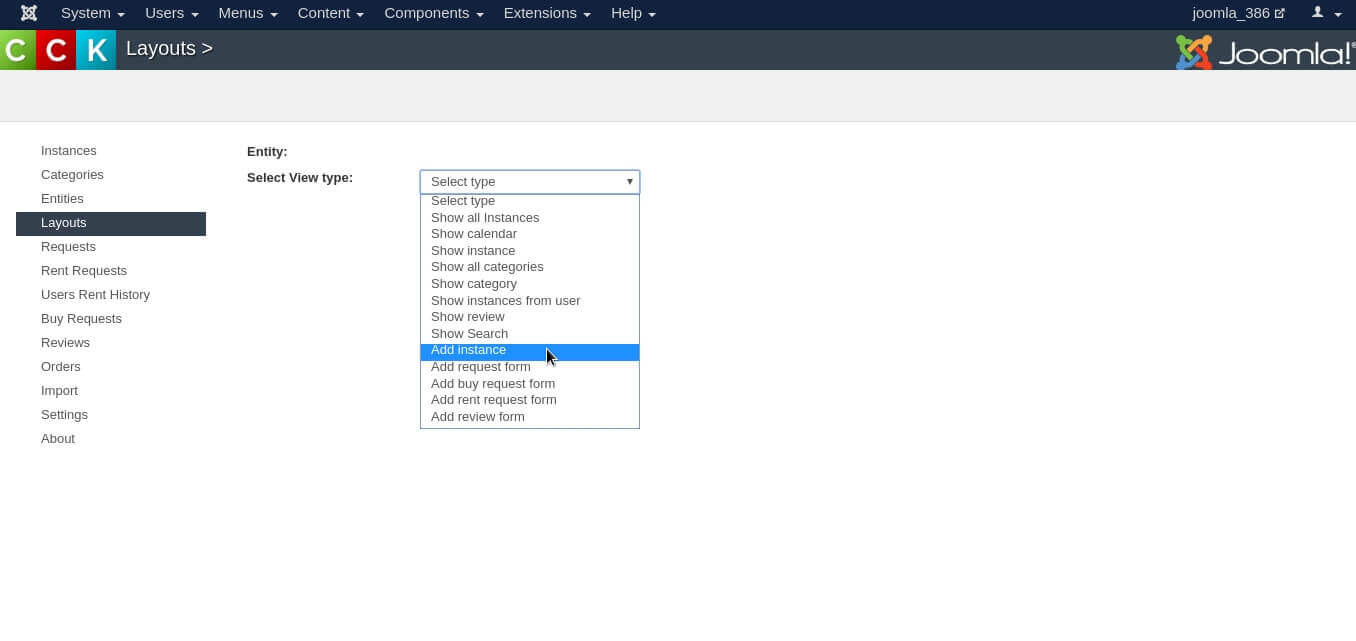
After choosing the type of future layout, the window with three functional parts will be opened. In this form is the console where you can perform any settings associated with the form itself, such as prescribing the desired file format, inserting an alias, displaying and writing a hint, and much more. Depending on which layout you choose, this form will change slightly, but in general it will look similar. On the left there will be forms for adding new Fields, below it will be a form for Attach Layouts and below it there will be a form for Attach Modules. In the layouts that begin with the Add form of adding layouts will not. Some layouts will have a standard set of fields and you will not be able to add new ones. You will learn about this if you do not have the Add New button below these fields. Then you will use those fields that will offer CCS and use in that order as you will be comfortable. In the center will be the New Row button. With it, you can customize the location of the component that you add. It can be arranged in one column, two, three or four. On the right is the console for the settings. Below it will be detailed what settings need to be performed in each individual layout.
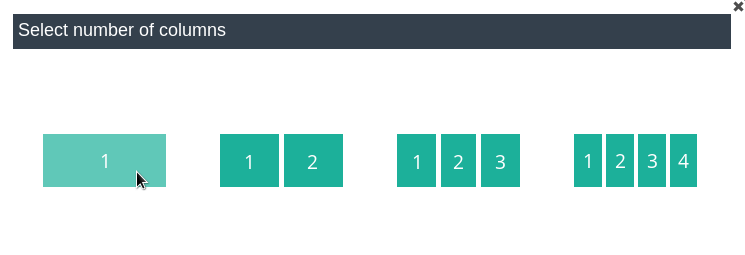
In the middle you can see button New row. By clicking on it you can choose the number of columns for the fist row (from one to four).
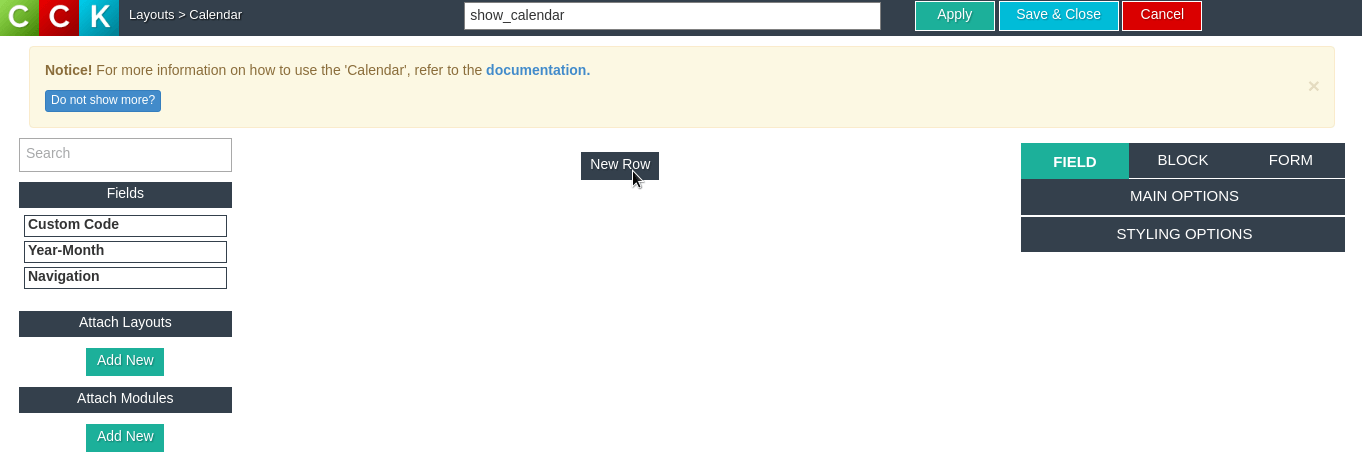
After you press the New Row button, a window appears in which you can select the number of columns in which you will arrange the components Fields, Layouts, Modules that you will select.
After you add field you simply take a mouse and with Drag&Drop move the component you need from the left column in the appeared field [position. You can also change the selected components by adding a new field or if you do not like the field - to delete it.

3. Adding new fields in OS CCK - website builder:
New field you may add at time edit/create CCK Add layout.
In order to select or add a new field, click the Add New button on the left under Fields. The very important: The layout type must be "Add Instance", because in other layouts types, you may only use fields which you already created in "Add Instance" layout.

When adding a new field in Joomla CCK - website builder, window opens where you can edit previously created fields (edit button), delete unnecessary fields (be noted and press delete) and create a new field (new button).
In the window that appears, you will see those fields that were selected earlier or if you go this option for the first time in the Field ID field, Field name and Field type will be empty.
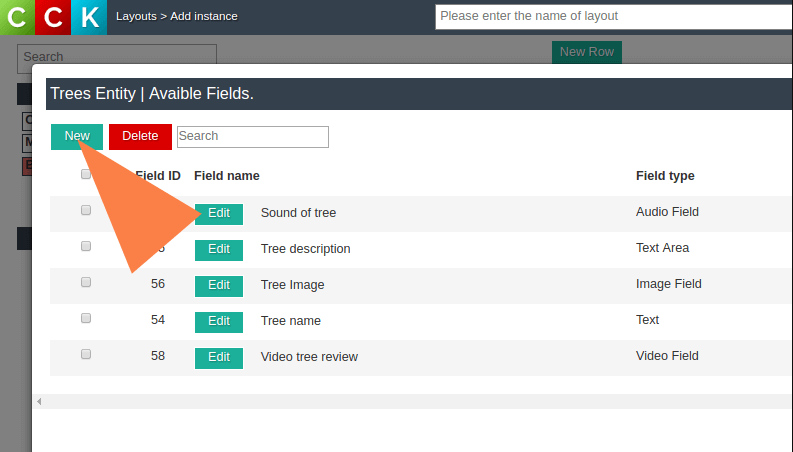
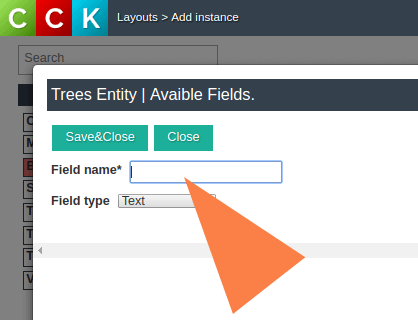
Pressing the new button will open a window in which you will need to enter the name of the field and select its type. More information about the types of fields you can read in Joonla CCK fields article.
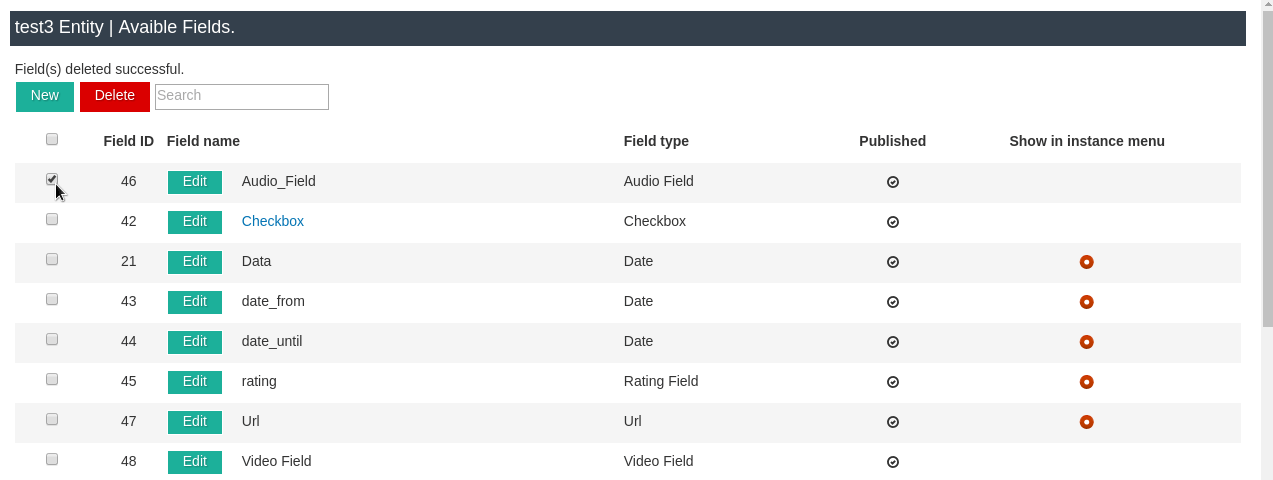
After you have chosen the type of field you need in Joomla CCK - website builder, click the Save and Close button and you should see the type of the field in the list. To make it appear in your main window, tick checkmark the first column click the mouse on it and click the Close button. Also in this window you can configure the field to be published or not. To do this, in the column under the title Published you need to double-click with a mouse if there is a checkmark then this field will be published if the red circle then is not there. Also here there is a column Show in instance menu and it is tune in the same way as the column Published.
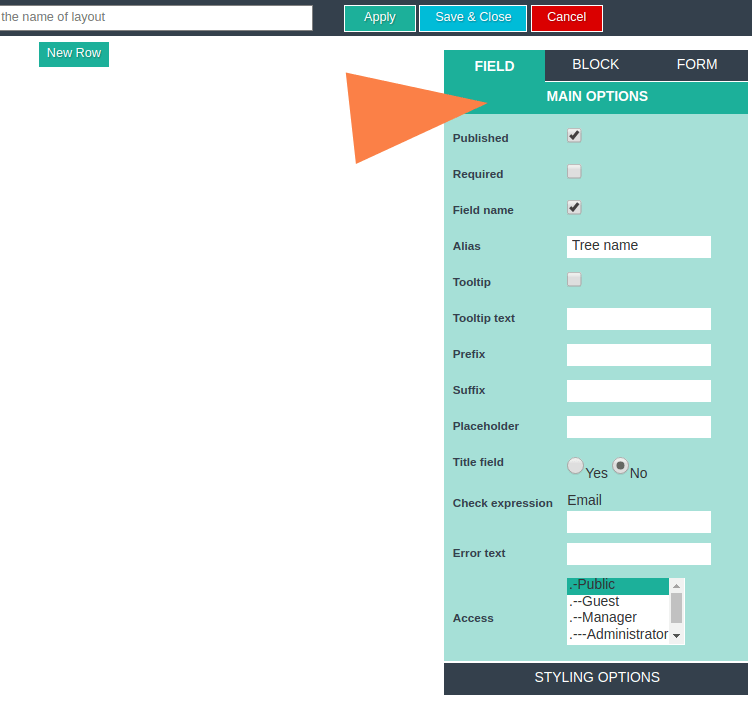
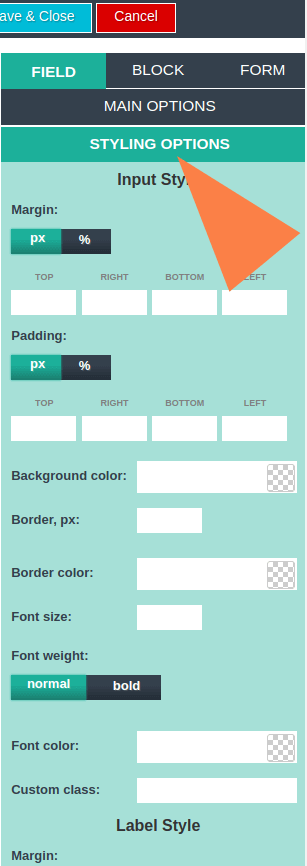
When you finish arranging the fields in rows and columns, have a look at the right side. There you'll find options panel, where you can change main and styling options for the field, row, column and entire form.
4. Create instances in Joomla CCK - website builder
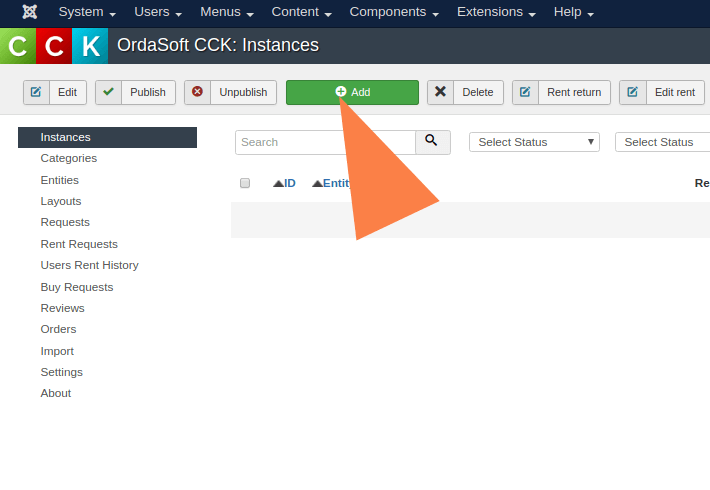
An Instance is the smallest piece of content in OS CCK - website builder. You will add an instance by filling in fields that you created before. You can do this in tab Components -> OS CCK -> Instances.. When you go to the Instances tab and click the Add button, you will see all the fields that you have added in the add_instance layout. At the top there will be a Layout type field in which you can select layouts. To do this, add a new entity and a new add_instance layout in which to select the entity you created before it. There are many possibilities here, you can add a description of something in the input field, add a URL, select a price and much more. Also if you want to add a picture, audio or video recording, you need to do it here by clicking on the Choose File button and in the window that appears, select the desired file. If it's audio or video then first you need to click on the Add video source file or Add new track button, and then select the file. You can also add video using Video download link1 or Youtube code.
In Joomla CCK - website builder if you want to add a video, you can do it in three different ways: Upload video, Video download link, Youtube code. To add video in these three ways, click the Add video source file button. In order to add the video in the first way, click the Select File button and in the appeared window select the desired video file. If you want to add a video in the second or in a trail mode, then you need to copy the direct link or video code from Youtube and paste it into the appropriate fields. The video will be added to the site in the order that you add it in the settings, but the priority will always be with the video from Youtube. The site will only show one video, not all three. You can also add a video that will be read for the sign language. To do this, click on the Add new track button and fill in the appropriate fields. If you want to delete a video for this, you need to tick off the Delete video and click Apply or Save & Close.

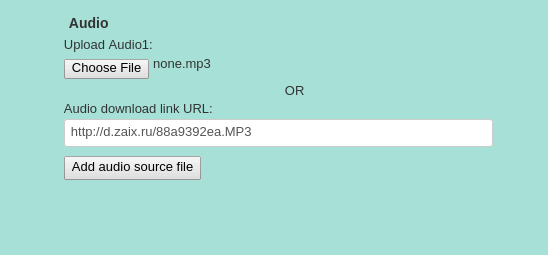
With Joomla CCK - website builder, if you want to add audio, you can do this in two different ways: Upload Audio, Audio download link URL. To add audio in these two ways, click the Add audio source file button. To add audio in the first way, click the Select File button and select the desired audio file in the appeared window. If you want to add audio in the second way then you need to copy the direct link in the appropriate field. If you want to delete the audio for this you need to tick off the Delete Audio and click Apply or Save & Close.
5. Create menu item - Joomla CCK - website builder
In Joomla CCK - website builder in order for your layout to be visible on the site you need to go to the menu settings, click the New button, make all the settings that you make when creating a new menu item. The first thing you need to do is fill in the Menu Title field, then in the right part of the Menu field from the drop-down list choose which menu your Layout will be in, the same actions should be performed with the Parent Item and Ordering field. You also need to select Published in the Status field. Then click on the Select button.
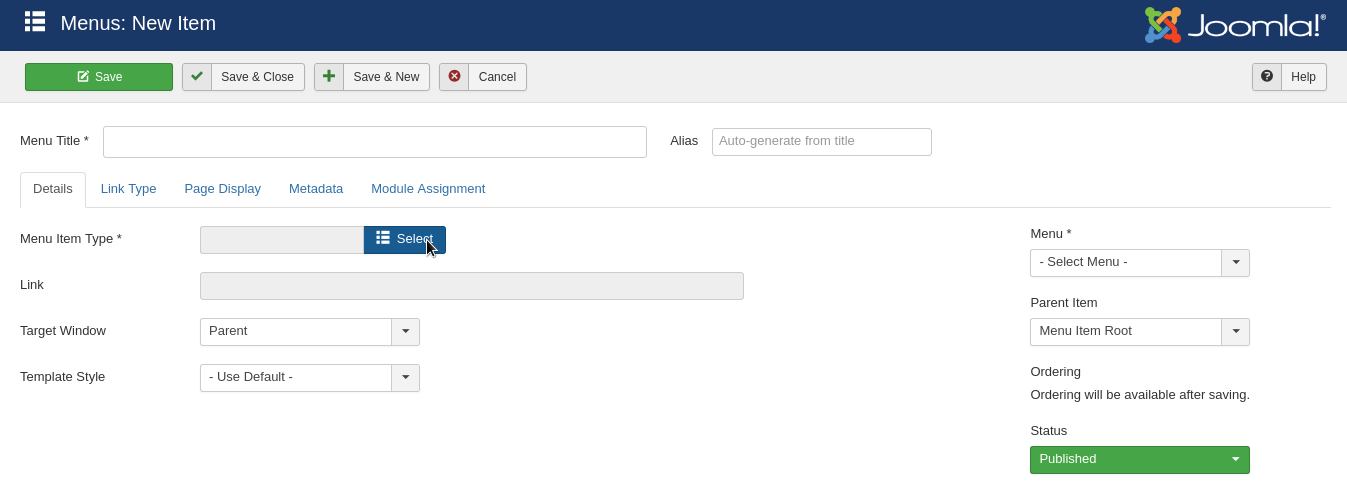
Select Joomla CCK - website builder in the Menu Item Type field and select the desired layout in the appeared list.
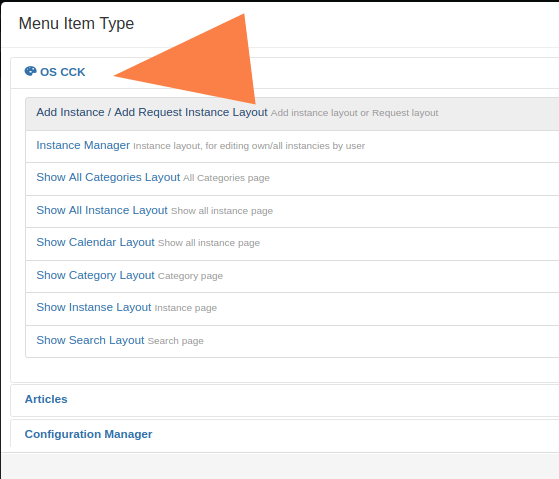
After you have chosen the layout you need, go to the Params tab and fill the Request Layout field by clicking the Select button in the appeared list, select add_instance or add_request_form.

6. Creating categories and subcategories in Joomla CCK - website builder
Also in OS CCK - joomla builder templates you can assign an instance (the smallest piece of content) to several categories and subcategories. By creating categories and subcategories you make structure of your content. To do this go to Components -> OS CCK -> Categories and click on button Add
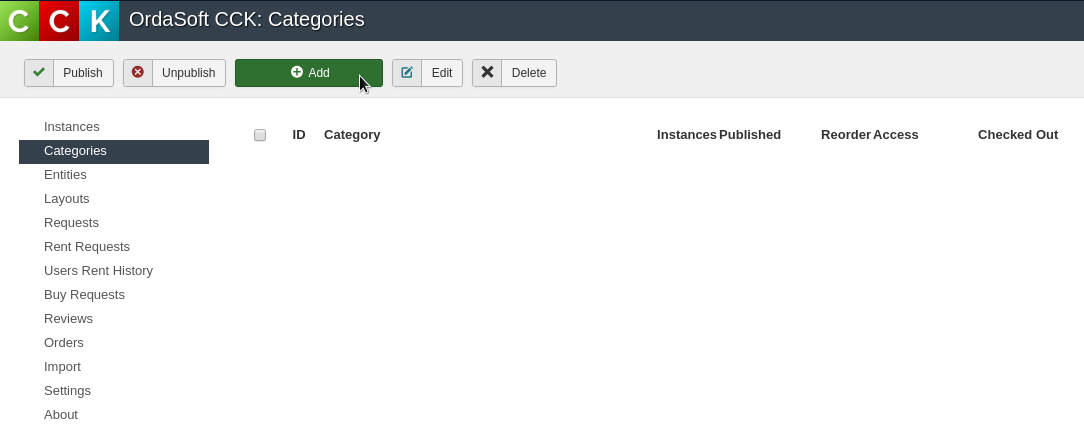
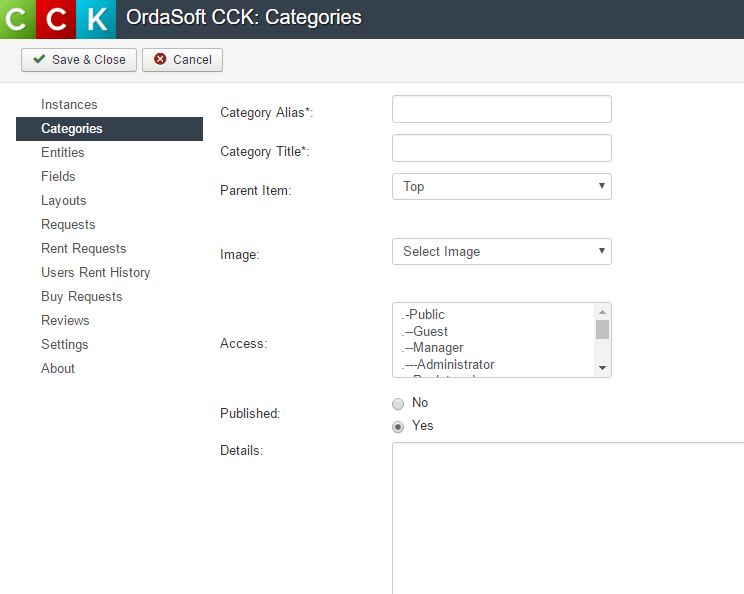
In the appeared window fill the field Category Alias, Category Title. This will be the name of your category. In the Parent Item field, you can choose which category will be the main category, and which will be secondary and will refer to the main category. Also there are fields like Image, Access, Published, Details in which you can also make corresponding settings best joomla templates.
How will the page of the site look after you do all the settings of the ССK you can learn Joomla CCK Layouts
That's all! Now you can create your own listing with custom fields easily with of Joomla CCK - website builder

